Hello Crafty Friends!!
Today I'm sharing my Projects for the 12 Days of Christmas Day 4: Gift Card Holder w/ Trinity Stamps!! SWOON!!
I LOVE to create Gift Card Holders for the Holidays and wanted to share a BEAUTIFUL Design that's PERFECT for MASS Producing and would be FUN in different Color Combos to suit your Style or the Holiday Theme you have picked for this Year!! I went with a Pink and Turquoise Color combo and it makes me so HAPPY!!
I LOVE to create Gift Card Holders for the Holidays and wanted to share a BEAUTIFUL Design that's PERFECT for MASS Producing and would be FUN in different Color Combos to suit your Style or the Holiday Theme you have picked for this Year!! I went with a Pink and Turquoise Color combo and it makes me so HAPPY!!


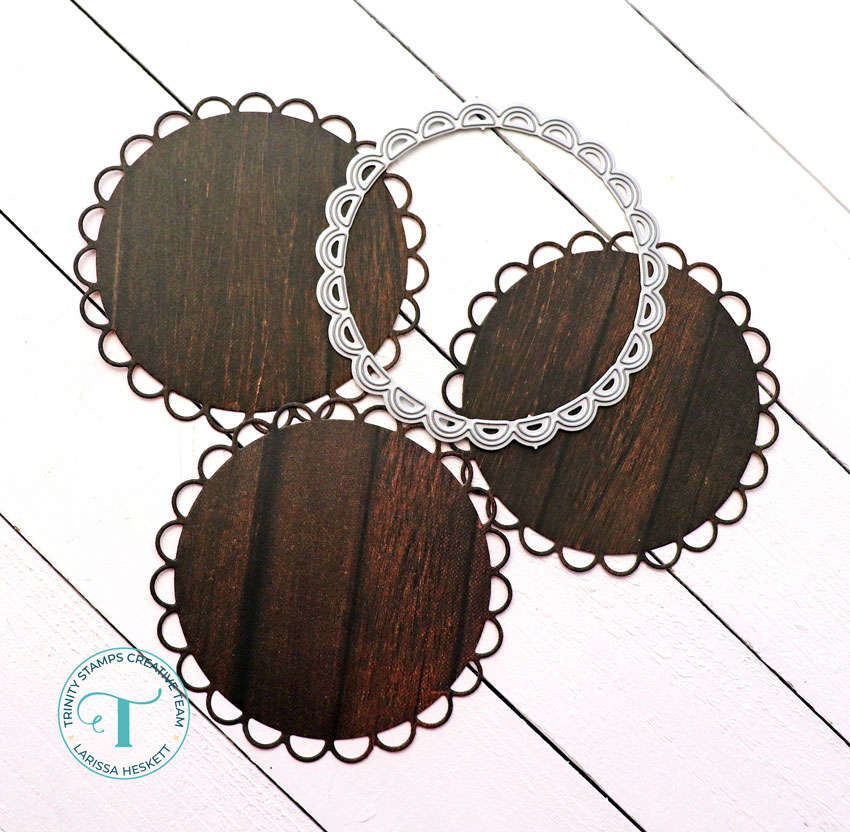
Next I Die Cut 3 Circles from some Distress Watercolor Cardstock using the Modern Embossed Edge Circle Dies!! Then I Inked with Salvaged Patina Distress Oxide Ink!! Next I used the Encouragement 6x6 Background Stamp to add some Texture to the Circle!! I inked with some SSS Dark Chocolate Ink, then I added some Water Splatters for even more Texture!!

Play Winter Chalet Stay Cozy Patterned Paper using the NEW Dainty Scallop Circle Die Set!!
 I Die Cut several Snowflakes from some Lawn Fawn Pixie Dust Glitter Cardstock using the A7 Snowflake Frame Die Set!! Then I adhered some of the Disco Ball Rhinestone Embellishments using some of the Crafty GlueFriend Liquid Adhesive!!
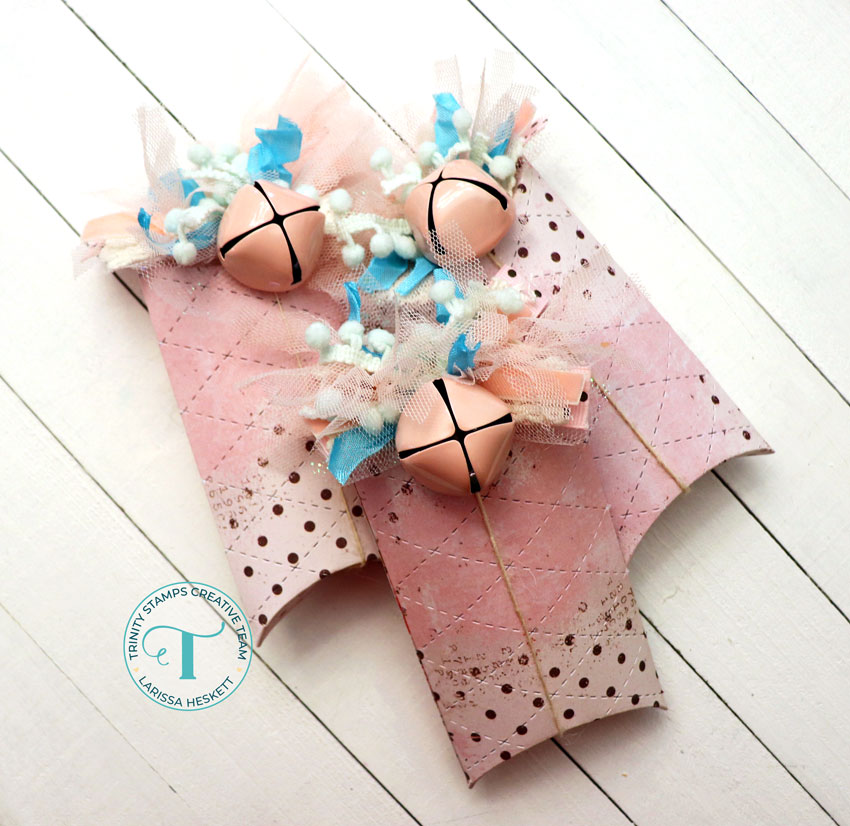
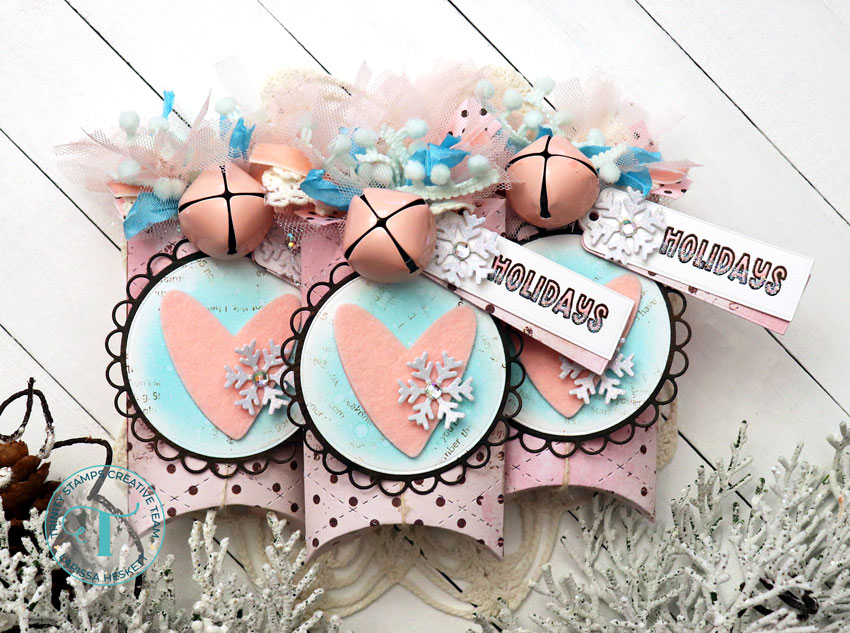
  After Scoring and adhering the Pillow Boxes together I added some Scrap Ribbon Bows along with some Large Jingle Bells that I Spray Painted Pink to the Pillow Boxes with some Burlap Twine that I Tied to the Top of the Boxes!! Makes them EASY to get into and the recipient can then Save and reuse the Pillow Box for another Gift to give to someone they LOVE!!

 Here's a Look at ALL of the Pillow Boxes put together!! SWOON!! See why I LOVE how they turned out!!?? I can see these in several different Color Ways!! There are SO MANY Possibilities!!
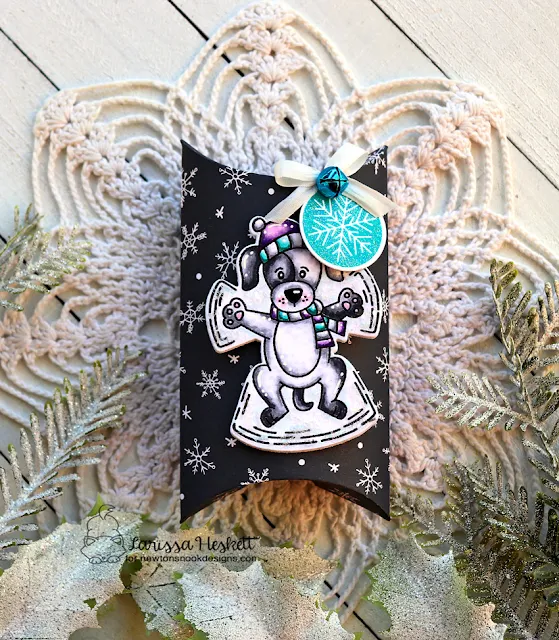
 A close up look at the Pillow Box!! Like I say EVERYTIME I Create a Project, Its ALL in the DETAILS!! I hope you AGREE!!?? Its WORTH all of the Work!!??


Here's a Close up look at the Bows and Jingle Bells!!
SWOON!! This Presentation just makes me HAPPY!!

I Die Cut the Tags from some Distress Watercolor Cardstock and some of the Prima Marketing Strawberry Milkshake Collection - Fresita Patterned Paper using the Tag Die from the Slimline Tags Die Set!! Then I Stamped and Embossed the "Holidays" Sentiment from the Polar Party Stamp Set onto the White Cardstock Tag using the SSS Dark Chocolate Ink and some WoW Clear Gloss Embossing Powder!! Then I Colored in the Sentiment using Copic Markers RV00 & RV11!! Then I added some Glue Pen to the Bottom portion of the Sentiment and added some Sparkle Dust Glitter!! I LOVE the Iridescent Sparkle and how it ties everything together!! I Adhered one of the Snowflakes to the Tag and then adhered the 2 Tags together for a Layered Look!!


So there you have it some Gift Card Holders that are SURE to BRIGHTEN the Recipients Holiday!! There are so many different ways to Design these and create them for ALL of your Holiday Gift Giving Needs!! I hope I've INSPIRED you today!!
THANKS SO MUCH for stopping by today!! If you create something please share with us on Social Media using the #hastag #trinitystamps #trinitystampsllc as we LOVE to see what you’ve created!!
You can join us in our FB Community HERE!!
I hope you have a FABULOUS WEEK!! Make sure you continue to visit us as we share Projects to INSPIRE You with the NEW Sparkle Season Products, and don't forget to Leave a Comment on EVERY Post during the 12 Days of Christmas for a Chance to WIN!!
LARISSA HESKETT
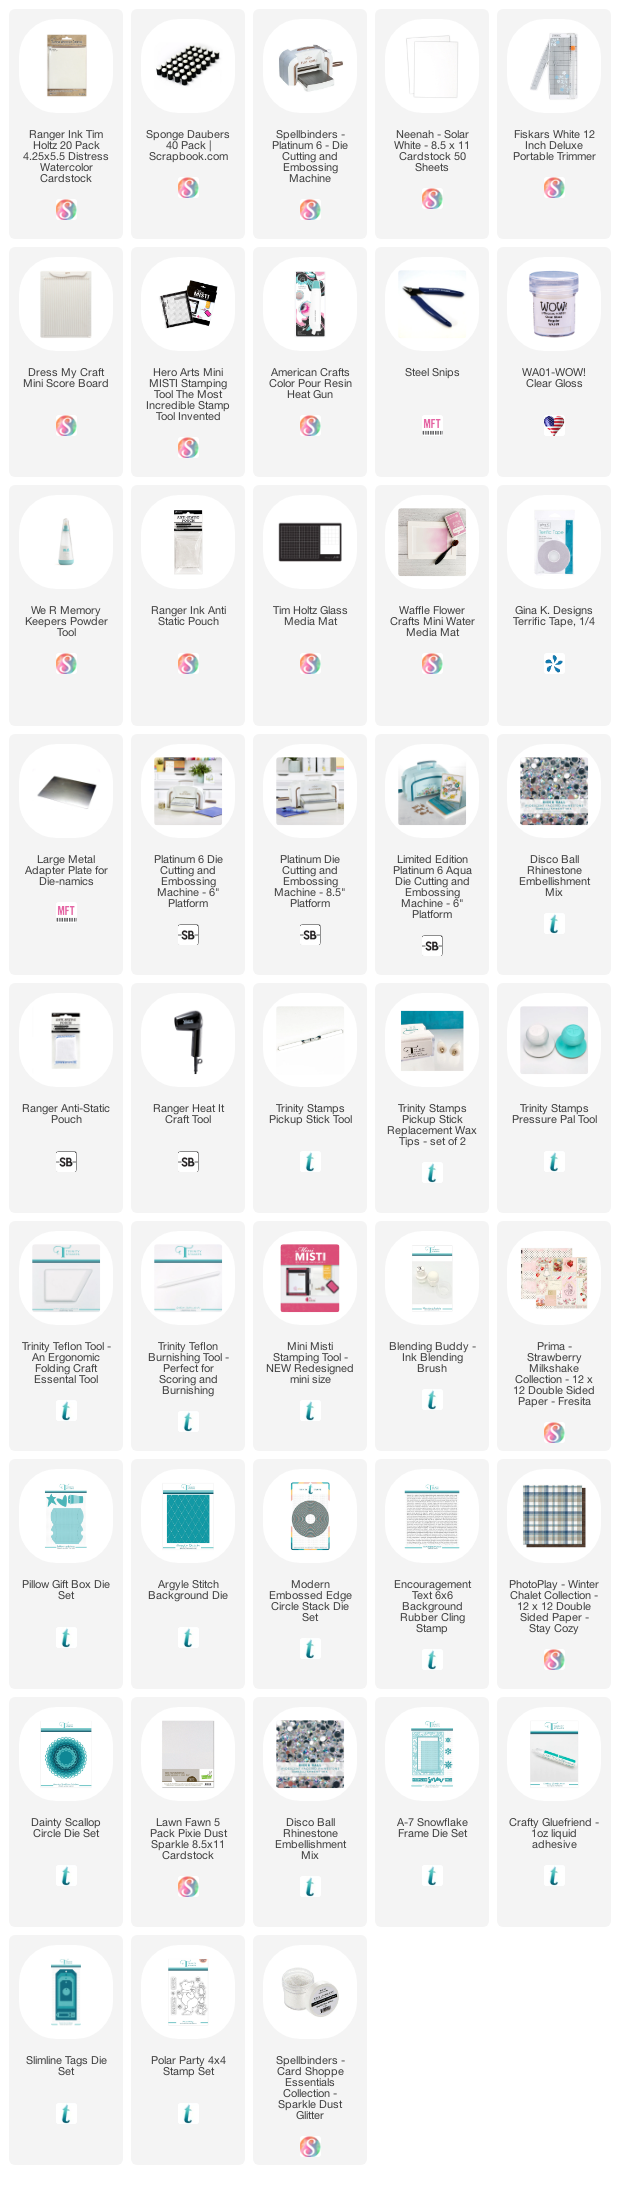
S U P P L I E S Below you will find links to the supplies used to create this project(s). Click the icon for the store underneath the thumbnails to start shopping. Where available I use compensated affiliate links at no extra cost to you. Your support helps me to keep bringing you new projects. Thank you!! 💓