Pin It
 Hello!!
Today is the fourth day of our
Great Outdoors Co-Hop with Xyron,
and if you missed the first three days, fear not, you can still take a hike over
and see the projects you missed. Not only do we have some great projects to show
you, but you can win some great products each day from Xyron. You should also hop
over to
the Xyron's blog each day as well, so you can have a chance to win some great products from
Paper House Productions!!
For my projects today I thought it would be FUN to show you how you could dress up your Table for either THANKSGIVING which is just a couple weeks away, or for a party that ANY one would enjoy!! I actually had my Boys in mind as we have an Event called Deer Camp each year and I KNEW they would
LOVE this!! So I started by cutting the
6x6 Decorative Papers from the
PHP Great Outdoors Mini Paper Pad!! I
LOVE all of the designs in this pad!! =) There are SO many options!! I glued the edges of my paper strips to the back of the
Bottles using my
Xyron Glue Runner!! I then tied some
Burlap String and added alittle
Distress Glitter for some interest and my Bottles were done!! Add a
Green Stripped Straw and these will be AWESOME Beverage containers!!


For my Place Cards I used the
Stitched Rounded Rectangle Dies from
Lil' Inker Designs and folded a piece of cardstock then ran the die through with the top cutting edge above the Fold line so you end up with a Folded Double sided Rectangle after Die Cutting making the PERFECT base for my Place Cards!! I then cut the Decorative Paper into strips and ran it through using the same die then gluing it to the Place Card base using my
Xyron Glue Runner!! I inked the edges using
Distress Ink and added some
Distress Glitter then stamped the Names using a
Paper Smooches Alphabet Stamp Set!! I used
Simon Says Dark Chocolate ink which was the perfect match!! I then added some
Burlap String and my cards were finished!!
For my Gift Boxes I used the
We R Memory Box Pillow Gift Box Punch Board and another piece of patterned paper!! I left it at the
6X6 Size and I think its Perfect for a
Party Favor Gift!! I then inked the edges and added one of the
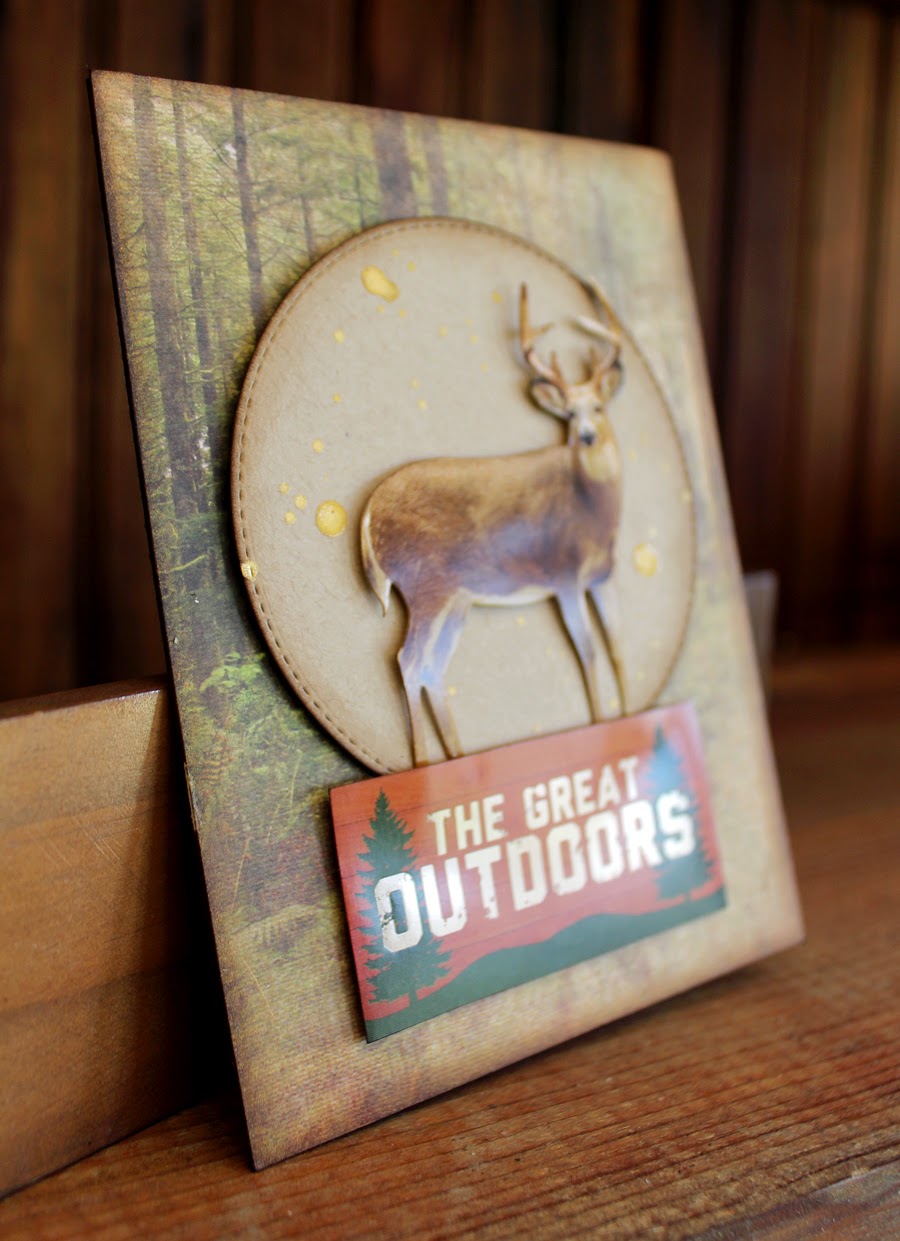
Great Outdoors Die Cut Stickers and some more
Burlap String to finish it off!! So I hope you can see that decorating for ANY Occasion is as easy as having the PERFECT Collection of Products on hand!!
Paper House Productions Papers and
Stickers and the
Xyron Glue sure made it EASY!!

Just comment on
THIS post for your chance to win! Don't forget to come back
tomorrow for some more great projects and another chance to win a great
prize.
Now, just Hop on over to
Xyron's blog to win
some more great prizes, and make sure to
like them on
Facebook to keep up-to-date with all their fantastic products and events!
THANKS SO MUCH for stopping by today and I hope you have a
FABULOUS WEEK!!
COUNTRY HUGS-N-KISSES
LARISSA =)