Showing posts with label Guest Designer. Show all posts

Sunday, May 22, 2022

Hello Cutie with Papertrey Ink May Release: Adorable Outfits, Little One, Night Sky Background Stencil!!

Pin It

Hello Crafty Friends!! 

I'm here today sharing a SWEET Welcome Baby Gift Card Holder Box Book Project showcasing the NEW Papertrey Ink May Release!! I'm using the NEW Adorable Outfits Stamps & Dies the NEW Night Sky Background Stencils and the Little One Stamp Set along with some of the Product released last Month!! SWOON!! I'm SO in LOVE with these NEW Products that'll be available in the Papertrey Ink Store on May 24th at 10 PM ET!! 

I Started by creating my Gift Box using the Go-To Gift Card Holder: Book Box Die Set, Go-To Gift Card Holder: Book Die, Go-To Gift Card Holder: Book Packets Die Set!! I used some Doodle Bug Patterned Paper along with some 110 lb. Neenha Solar White Cardstock!! 

Then in order to create the Decorative Panel I Die Cut the PTI Mix & Mat: Confetti Die from some White Cardstock and then I masked off the border with some Pixie Tape and Inked lightly with some Salvaged Patina Distress Oxide Ink!! Then I Placed the NEW Night Sky Background Stencils and Inked again with Salvaged Patina Distress Oxide Ink for a Tone on Tone Design!! I didn't want a Crisp Design so once I removed the Stencil I went over it again lightly with my Blending Brush just to blend it out alittle and I LOVE the way it turned out!! I Die Cut the Adorable Onsie Out and then Inked with some Spun Sugar Distress Ink!! Then I Inked the Lace Sleeves with some Worn Lipstick Distress Oxide Ink and also Stamped the coordinating Lace Bow too!! I Die Cut the Images out using the coordinating Dies and using Foam Tape to adhere the Adorable Onsie to the front of my Gift Box Book!! I Stamped and Embossed the Star Tag from the Go-To Gift Card Holder: Bookmark Die Set!! Then adhered it to the Front of the Box Book with a Bling Zots Adhesive Dot and adhered a PTI Satin Bow!! 

For the Inside of my Gift Card Holder Book Box I create some Gift Card Holder and I Inked them all with the same NEW Night Sky Background Stencils and Inked again with Salvaged Patina Distress Oxide Ink for a Tone on Tone Design!! I created another Panel exactly like the one on the Front of the Box and Stamped and Embossed the Sentiments from the NEW Little One Stamp Set!! How SWEET is that Psalm 139!! Then I added some Bows and a Trinity Stamps Bauble for the Center for some extra Sweetness!! 

I added a PTI Satin Ribbon for the Book Closure and enclosed some Gift Cards to Amazon and Starbucks!! Those NEW Mommas need their Caffeine to help with those LONG Sleepless Nights and Days!! I LOVE how it turned out and I hope I've INSPIRED you with some Ideas for those NEW Baby Projects you might need to create!! 

THANKS SO MUCH for stopping by today and I hope you have a FABULOUS Week!! I'll be back again tomorrow with another Baby Card and coordinating Gift Card using some of these same Products!! 
Have a FABULOUS and BLESSED Sunday!!
 

COUNTRY HUGS-N-KISSES
LARISSA ๐Ÿ’—

Wednesday, December 8, 2021

Follow Your Dreams w/ Spellbinders!!

Pin It
Hello Crafty Friends!! 

I'm here today as a Guest Designer for Spellbinders using the NEW New Start Clear Stamp Set from the Cardmaker II Collection!! SWOON!! I'm a LOVER of Butterflies and I that they can be used for Any Occasion!! I'm still in disbelief that Christmas is only 19 Days away, but with that also comes the Winter Graduations!! I feel like sometimes these AMAZING Accomplishments get over looked due to all of the Holiday hustle and bustle, but wanted to create a Graduation Card using this STUNNING New Set!! 

I've also combined several other Products from Spellbinders to complete my Card, but I encourage you to shop your Stash and see what Products you might already have on hand that could be used in a similar way!! Let's get Started!! 

Here's a Look at the STUNNING New Start Clear Stamp Set from the Cardmaker II Collection!! I LOVE all of the Sentiments that can be used for Any Occasion, but Graduation Cards came to mind while I was creating my Card for today!! 
I Started by Stamping and Embossing the Main Butterfly Image!! I Stamped with Versa Fine Black Onyx Ink and then Embossed with Fun Stampers Journey Clear Embossing Powder onto Snowdrift Color Essentials Cardstock!! 
Then I Colored with Copic Markers!! 
Turquoise: BG10, BG45 & BG49    
Orange: YR00, YR18 & YR68    Yellow: Y11. Y15 & YR23
I fussy Cut the Image out and then added some White Gel Pen Details and a few Teal Color Essentials Gems for some Sparkle!! Then I Die Cut the Circle Stitched Die from some Onyx Color Essentials Cardstock!! I added some Teal Color Essentials Gems to the center of the Circles for even more Sparkle, and I LOVE how it finishes the Die Cut Border off!! Any Border would work here though!! Next I Die Cut a Card Panel using the A2 Matting Basics B Card Creator Etched Die Set, again from some Snowdrift Color Essentials Cardstock!! Then I Stamped and Embossed the the Smaller Butterfly Image from the Set onto the bottom of the Cardstock Panel, again Stamping with Versa Fine Black Onyx Ink and Embossing with the Journey Clear Embossing Powder!! I Stamped the "Dreams" Sentiment onto the Panel randomly to create my own Patterned Paper using Salvaged Patina Distress Oxide Ink!! Then added some Crackling Campfire and Mustard Seed Distress Oxide Ink Splatters to the background to add some Color and Texture to the Panel!! I LOVE how it turned out!! 
I Stamped and Embossed the "Follow Your Dreams" Sentiment from the NEW 
New Start Clear Stamp Set onto another Circle Die Cut from some Snowdrift Color Essentials Cardstock!! Stamping and Embossing with Versa Fine Black Onyx Ink and then Embossed with Fun Stampers Journey Clear Embossing Powder onto the Salvaged Patina Distress Oxide Inked Circle Die Cut!! Then I backed it with another Circle Die Cut using the NEW Fluted Classics Circles Etched Dies from some Onyx Color Essentials Cardstock adhering the two together using some Bearly Art Original Precision Craft Glue!! Then I adhered the Layered Circle Sentiment on the inside of the Card and added some to add some SPARKLE!! Finishing off the inside of the Card as well as tying it to the Front of the Card so it coordinated!! 
I Adhered the Butterfly Image to my Card Panel using some Journey Foam Squares in Medium and then adhered the Border from the Stitched Curved Border & Ornaments Die Set to my Card Panel above the Stamped Background Design!! I adhered the Entire Cardstock Panel onto an A2 Matting Basics A Card Creator Etched Die Set Cardbase Die Cut from Snowdrift Color Essentials Cardstock!! I used some Pop-Up Die Cutting Foam Sheets to cut a Smaller Panel to adhered to the back of my Card Panel and adhered it to the Cardbase for some Dimension using White Liner Double Sided Adhesive Tape!! 

THANKS SO MUCH for stopping by today and I hope you have a FABULOUS WEEK!! 

COUNTRY HUGS-N-KISSES
LARISSA HESKETT  ๐Ÿฆ‹

NO CODE NEEDED!! 


If you're a Spellbinders Creative Rewards Member, (if not Sign Up HERE) you can pick this CUTIE up for just $100.00 + Taxes!! SHOP Links Below!! 
SQUEAL!! Take advantage of the SALE while Supplies LAST!! I have a feeling they're going to go FAST!! ๐Ÿ˜‰

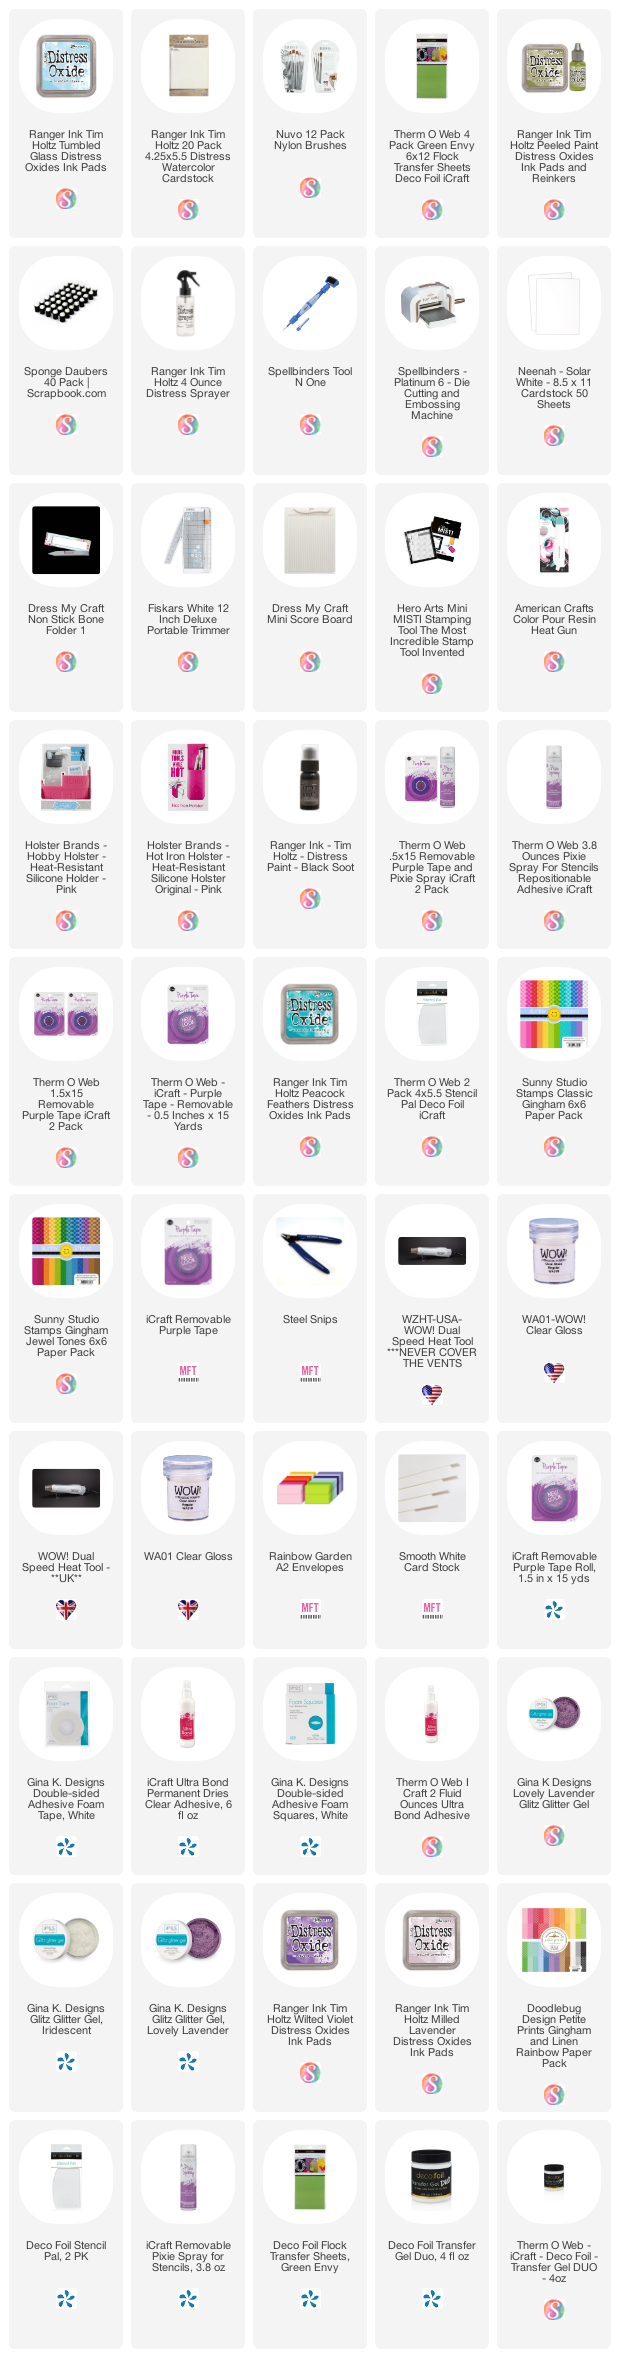
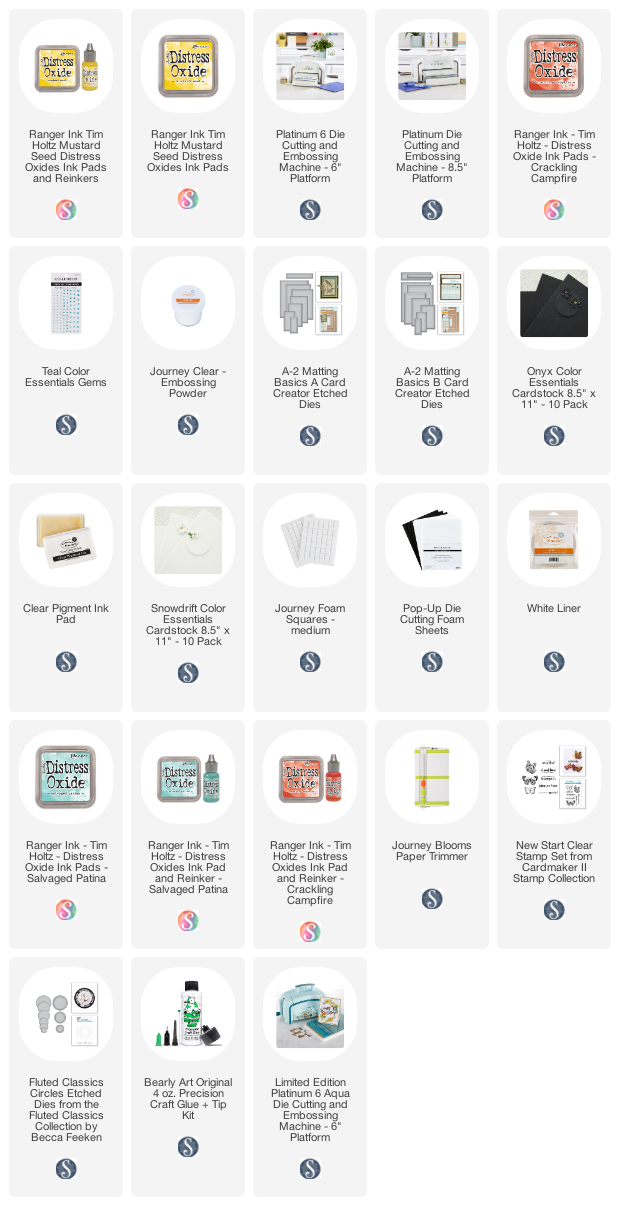
S U P P L I E S Below you will find links to the supplies used to create this project(s). Click the icon for the store underneath the thumbnails to start shopping. Where available I use compensated affiliate links at no extra cost to you. Your support helps me to keep bringing you new projects. Thank you!! ๐Ÿ’“

Saturday, March 20, 2021

Coffee Shaped Gift Cards w/ Trinity Stamps for the Coffee Lovers Spring/Summer Blog Hop!!

Pin It
HELLO CRAFTY FRIENDS!! 

I'm here today with my Third Post as 
Today I'm sharing a couple Shaped Coffee Cards that can hold Gift Cards in the inside!! PERFECT for any SPECIAL Gifts you may need to give!! 
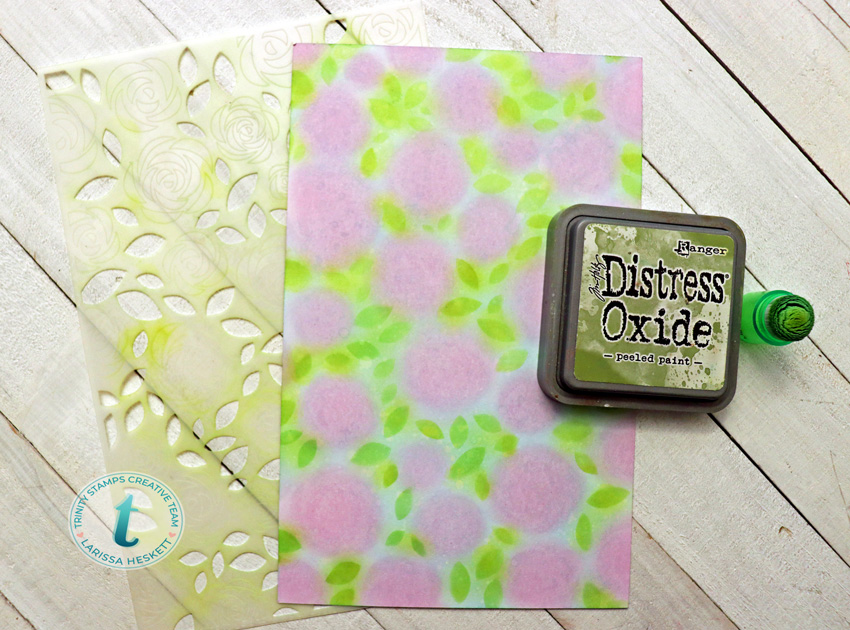
For my first Card I used the Bed of Roses Stencil and Distress Oxide Inks to create my own Patterned Paper!! You can check out my post HERE for complete details!!
I Die Cut the Coffee Mug Card Die Set from the Patterned Paper I create!! Then I used a Trinity Stamps Small Stitched Tag Set that I received as a Gift with my Purchase!! I Stamped the Hello There Sentiment from the Hello There Stamp Set and then a Sweet Butterfly from the NEW Spring in my Step Stamp Set!! I adhered the Stamped Tag with some Metallic Lawn Fawn Twine that matches my Card Design!! I LOVE how it turned out!! 
Here's a Close up Photo!! SWOON!! It's SURE to bring some HAPPINESS to someone SPECIAL!! 
For my Second Card I wanted to create a FUN Rainbow Design!! So I Started by Die Cutting the Rainbow Patterned Papers using the Slimline Series: Stitched Strips Die Set!! Then I Die Cut the Cardstock using the Heart Die from the Slimline Card Series: Frame and Fold Die Set!! I then used the Three Stitched Hearts and Die Cut them into the Mug!! Then I inked over them with some Tumbled Glass Distress Ink to make them POP!! I used the Same Stitched Tag Die and Stamped and Embossed the Hello There Sentiment and then Die Cut one of the Stitched Hearts and Inked again with Tumbled Glass Distress Oxide Ink!! I adhered it with a Turquoise Lawn Fawn Twine and I LOVE the way it turned out!! 

I'm also linking up to the Coffee Lovers Spring/Summer Blog Hop!! Trinity Stamps is one of the GENEROUS Super Sponsors so make sure to Hop along and Link up your creations for your chance to WIN!! 

So there you have it some ideas on ways to use LOTS of your FAVORITE Trinity Stamps Products together to create some Coffee Themes Shaped Cards that can hold Gift Cards on the inside!! 
THANKS SO MUCH for stopping by today and I hope you have a FABULOUS WEEKEND!! 

COUNTRY HUGS-N-KISSES
LARISSA  ๐Ÿ’œ


Saturday, March 6, 2021

Bed of Roses Layering Stencil Cards x2 with Trinity Stamps!! How to Step up your Stenciled Designs!!

Pin It
HELLO CRAFTY FRIENDS!!

I'm here today with my first Post as Trinity Stamps Guest Designer for March!! SQUEAL!! I'm so EXCITED!! So today I'm going to share a couple of Cards with you showing you how you can use the NEW Bed of Roses Stencil Set!! I LOVE Stencil Sets as they are SO VERSITILE and there are so many ways you can use them!! Plus with the Size of the NEW Bed of Roses Stencil Set is 6x9, so you can actually get more than one Card/Project from just one Stenciling!! So that's a BONUS too!! Let's get started!! 
Here are the Cards I've made for today!! They make me SO READY for Spring, but Florals can be used ALL Year Long!! I LOVE to use my Distress Oxide Inks and you can step things up by using some Therm O Web Deco Foil Flock and Gina K Designs Glitz Glitter Gel!! SWOON!! The Color possibilities are ENDLESS too!! I can see a Set of these in Rainbow Colors for a Gift Set to give as a Gift as well!! Then did you spy the coordinating Envelopes!!?? Yep, how SPECIAL do they make these Cards when sending them to someone SPECIAL!!?? 
I Started by Spraying the back side of the Stencils with Therm O Web Pixie Spray!! It's a GAME changer when working with Layering Stencil Sets!! Then I adhered the Roses Stencil over my Cardstock and pressed in firmly into place!! 
Then I inked with a Layer of Milled Lavender Distress Oxide Ink and an Ink Dauber!! 
I removed the Stencil and then Inked around the Roses with Tumbled Glass Distress Oxide Ink using a Blender Brush!! Then I added a healthy Splattering of Water!! I LOVE the Oxidization of the Inks and the added texture that it adds to the panel as well!! I used my Heat Tool to heat set the Panel and to make sure it was completely dry before moving on to the next step!! 
Then I took the Distress Oxide Ink in Milled Lavender again and Inked around the area of the Roses!! I wanted to create the Base of the Roses!! Making the Bases a little larger than the Stenciled Design!! Having that Stenciled Rose Design in place helps to know exactly where to ink!! 
Here's the Panel completely inked!! 
Next I adhered the Leaves Stencil over the Panel and Inked with Peeled Paint Distress Oxide Ink using an Ink Dauber!! Then to add some extra Dimension to the Leaves I inked over the top of them with some Peacock Feathers Distress Oxide Ink using an Ink Dauber!! SWOON!! 
I LOVE this Color combo for Spring Designs!! 
Here's what the Panel looks like after I removed the Leaves Stencil!! Isn't it just STUNNING!!?? Imagine all of the different Color Combos that you can use and how you can even play with the colors depending on the Season!! 
ENDLESS Possibilities!! 
Next I realigned the Roses Stencil over the Top of my Panel and placed it into place!! Then I Inked with Wilted Violet Distress Oxide Ink!! 
This is what the Panel looks like after inking all of the Roses!! STUNNING Right!!??

Here's the Card I created using the Inked Panel!! Plus, I still have enough Cardstock left to create a Couple more projects!! 
I started by Die Cutting all of the Panels using the NEW Modern Embossed Rectangle Stack Dies!! I absolutely LOVE these Dies and the AWESOME Embossed detail they leave on the edges of the Panels!! I Die Cut the Cardbase using White Cardstock and the largest Rectangle Die!! Then I created the Doodlebug Gingham Patterned Paper Panel using the next Size Rectangle Die!! I Die Cut the 4th Rectangle from the Stenciled Cardstock to create the Focal Panel!! 
I added some Black Soot Distress Paint Splatters to the Stenciled Panel to add some extra Texture!! Then once it was completely dry I adhered all of the panels together with Therm O Web Ultra Bond Adhesive!! Then I Stamped and Embossed the Hello There Sentiment from the Hello There Stamp Set onto the Second to Smallest Rectangle Die cut from some White Cardstock!! I Stamped with Versa Fine Black Onyx Ink and Embossed with WoW Clear Gloss Embossing Powder!! 

I adhered the Stamped and Embossed Sentiment onto my Card Panel using some Gina K Designs Foam Tape and then added some Trinity Stamps Fairy Rock Rhinestone Embellishments to add some Sparkle and finish off the Design!! 
I created some coordinating Envelopes as well by Stenciling the Envelope Flaps!! I used Purple Tape to Mask off the Flap and then used the same inks that I used on the Panels to ink on the Envelope Flaps!! Such an EASY process that results in a STUNNING presentation!! 
For my Second Card I wanted to STEP things up a notch and show you how you can use some Therm O Web Products to add some Dimension and Shine to the Design making it more 3D!! I repeated the same exact Inking process in order to get the Base color for my Design!! 
Next I realigned the Leaves Stencil and applied some Therm O Web Transfer Gel Duo using the Stencil Pal to get a nice thin layer!! Then I set it aside to dry completely!! The Transfer Gel will dry completely Clear and be tacky to the touch!! 
The Transfer Gel will dry completely Clear and be tacky to the touch, that's how you know it's safe to move onto the next step!! 
Once it was completely Dry, I cut a piece of Therm O Web Deco Foil Flock in Green Envy and placed it face down ontop of the Dried Gel and ran it through my Die Cutting Machine to burnish that Flock into the Gel!! Then I removed the Backing and SWOON!! Just look at those Flocked Leaves!! This technique NEVER disappoints!! 
In order to add even more Dimension and to make those Flocked Leaves POP even more I replaced the Leaves Stencil over the Flocking and Inked with some Peacock Feather Distress Oxide Ink!! It really does help to make those leaves come to LIFE!! 
Next I wanted to use some Gina K Designs Glitz Glitter Gel to add some Sparkle to the Roses!! So I mixed together some of the Iridescent and Lovely Lavender Glitz Glitter Gel to create my own Color!! I LOVE how the Iridescent Glitter just adds to the beauty of the Lovely Lavender Gel!! 
I realigned the Roses Stencil over the Panel and adhered it into place with the Pixie Spray!! Then I applied the custom Glitz Glitter Gel using my Stencil Pal!! Then I set the Panel aside to dry completely!! 
Here's a look at both of the Stenciled Panels side by side so you can the differences in them just by adding the extra steps to add some Dimension and Shine with the Therm O Web Deco Foil Flock and Glitz Glitter Gel!! No matter how you decide to use the Bed of Roses Stencil Set, the results are just STUNNING!! 
After looking at the Panel, I decided that I need to add some dimension to the Center of the Roses so I applied some more of the Wilted Violet Distress Oxide Ink using my Ink Dauber and I REALLY LOVE the way it makes them seem even more Three Dimensional!! 
Here's the Card I created using the Flocked and Glitz Glitter Geled Panel!! Plus, I still have enough Cardstock left to create a Couple more projects!! 
I started by Die Cutting all of the Panels using the NEW Modern Embossed Rectangle Stack Dies!! I absolutely LOVE these Dies and the AWESOME Embossed detail they leave on the edges of the Panels!! I Die Cut the Cardbase using White Cardstock and the largest Rectangle Die!! Then I created the Sunny Studio Stamps Gingham Patterned Paper Panel using the next Size Rectangle Die!! I Die Cut the 4th Rectangle from the Stenciled Cardstock to create the Focal Panel!!
I added some Black Soot Distress Paint Splatters to the Stenciled Panel to add some extra Texture!! Then once it was completely dry I adhered all of the panels together with Therm O Web Ultra Bond Adhesive!! Then I Stamped and Embossed the Hello There Sentiment from the Hello There Stamp Set onto the Second to Smallest Rectangle Die cut from some White Cardstock!! I Stamped with Versa Fine Black Onyx Ink and Embossed with WoW Clear Gloss Embossing Powder!!
I adhered the Stamped and Embossed Sentiment onto my Card Panel using some Gina K Designs Foam Tape and then added some Trinity Stamps Fairy Rock Rhinestone Embellishments to add some Sparkle and finish off the Design!!

So there you have it 2 Cards created using the exact same Trinity Stamps Bed of Roses Stencil Set, but Stepping it up a notch by using different Products to help make the Design come to LIFE!! I hope I've INSPIRED you and that you'll give these techniques a try to create a Set of Cards and coordinating Envelopes of your own to send to someone SPECIAL to help BRIGHTEN their Day!! 

THANKS SO MUCH for stopping by today and I hope you'll join me EVERY Saturday this Month as I showcase some more of the AMAZING Trinity Stamps Products!! 
Have a FABULOUS WEEKEND!! 

COUNTRY HUGS-N-KISSES
LARISSA  ๐Ÿ’œ

S U P P L I E S
Below you will find links to the supplies used to create this project(s). Click the icon for the store underneath the thumbnails to start shopping. Where available I use compensated affiliate links at no extra cost to you. Your support helps me to keep bringing you new projects. 
Thank you!! ๐Ÿ’“

Tuesday, August 28, 2018

Holiday Trio for Drive By Crafts featuring Avery Elle Products!! =)

Pin It


HELLO CRAFTY FRIENDS!! 

I'm up on the Drive By Crafts Blog today to share some FUN Holiday Cards using some of the AWESOME NEW Avery Elle Products!! SQUEAL!! 
I'm SO NOT ready for the Holidays, but when you have AMAZING Products like the NEW Release from Avery Elle to work with, its HARD not to get in the Holiday Spirit!!
Here's a PEEK at my Cards!! For more details I hope you'll got check them out on the Blog!!


THANKS SO MUCH for stopping by and I hope you have a FABULOUS WEEK!!

I'm also linking up
Grab our badge:

Anything Goes - Weeks #348- #349


COUNTRY HUGS-N-KISSES
LARISSA    =)