HELLO CRAFTY FRIENDS!!
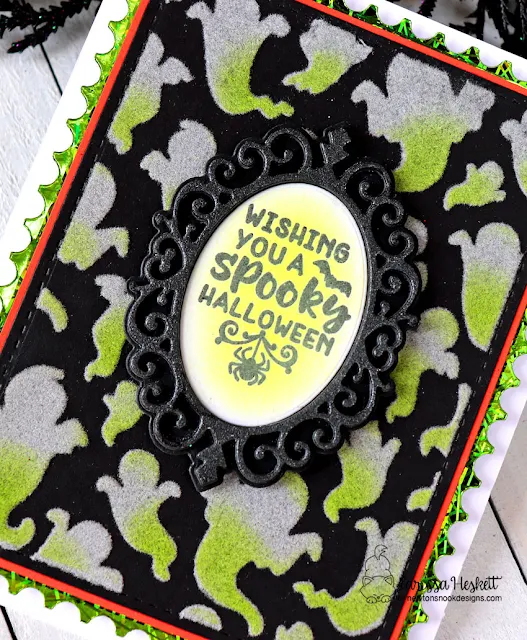
I'm up on the Newton's Nook Designs Blog today sharing this FABOOLOUS Glow-in-the-Dark Halloween Card FULL of Texture and Shine!!
I'm using the Creepy Cameos Stamp Set and Creepy Cameo Die Set along with the Ghost Stencil and Framework Die Set!! Let's get Started!!
I Started by Creating the AWESOME Dimensional Cameo Frame!! I Mixed a combination of Gina K Designs Black Glitz Glitter Gel and Metallix Gel together and then applied a Thin Layer to a Piece of Distress Watercolor Cardstock using my Stencil Pal!! Then I set it aside to Dry Completely!! Then I Die Cut the Cameo Frame!!
Then I Stamped and Embossed the Sentiment from the Creepy Cameos Stamp Set using Versa Mark Embossing Ink and WoW Glow-in-the Dark Embossing Powder!! SWOON!! In real Life it's SO FUN!!
(On a Side Note, Photographing Glow-in-the-Dark Images are HARD!! If you have any pointers I'd LOVE the hear them!! THANKS in advance!!)
(On a Side Note, Photographing Glow-in-the-Dark Images are HARD!! If you have any pointers I'd LOVE the hear them!! THANKS in advance!!)
Next I worked on the Stenciled Card Panel!!

I Started by Spraying the back Side of the Ghost Stencil with Therm O Web Pixie Spray!! Then I adhered it to the Black Cardstock Card Panel and pressed it firmly into place!! Then I applied a Thin Layer of Deco Foil Transfer Gel Duo using a Stencil Pal!! Then I set it aside to Dry completely!!
Once Dry, I added a Piece of White Latte Deco Foil Flock over the top of the DRY Deco Foil Transfer Gel and ran it through my Die Cutting Machine to burnish the Flock into the Deco Foil Transfer Gel!! Then I removed the Deco Flock backing and SQEUAL!! The Flocked Ghosts POP off the Card Panel!!
I replaced the Ghost Stencil over the Flocked Ghost Images and then Inked with some Twisted Citron Distress Ink, using an Ink Dauber and Inking at the Bottom of the Ghost Images to add that Glow-in-the-Dark look!! I LOVE how the little touch of Ink really makes the Ghost Images POP of the Card Panel!!

I adhered the Stencil and Flocked Card Panel onto an Orange Cardstock Panel!!
Then I adhered it to a Deco Foil Toner Sheet that was Foiled with some Brustus Monroe Green Static Deco Foil and then Die Cut it using the Framework Die Set!! I adhered it to an A2 Cardbase and my Card was Finished!!
✱✱✱The Creepy Cameos Stamp Set and Creepy Cameo Die Set are part of the NND Retiring SALE and will only be available while supplies last so if you like these products, make sure you get them while you can and don't forget to see what else is retiring in our retiring sale category!!✱✱✱
THANKS SO MUCH for stopping by today!! I hope I've INSPIRED you on some FUN Techniques to use with your NND Products to create some AMAZING Halloween Cards to Bring a Glow-in-the-Dark BOO to someone SPECIAL!!
Have a FABOOLOUS WEEKEND!!
COUNTRY HUGS-N-KISSES
LARISSA 👻
Have a FABOOLOUS WEEKEND!!
COUNTRY HUGS-N-KISSES
LARISSA 👻
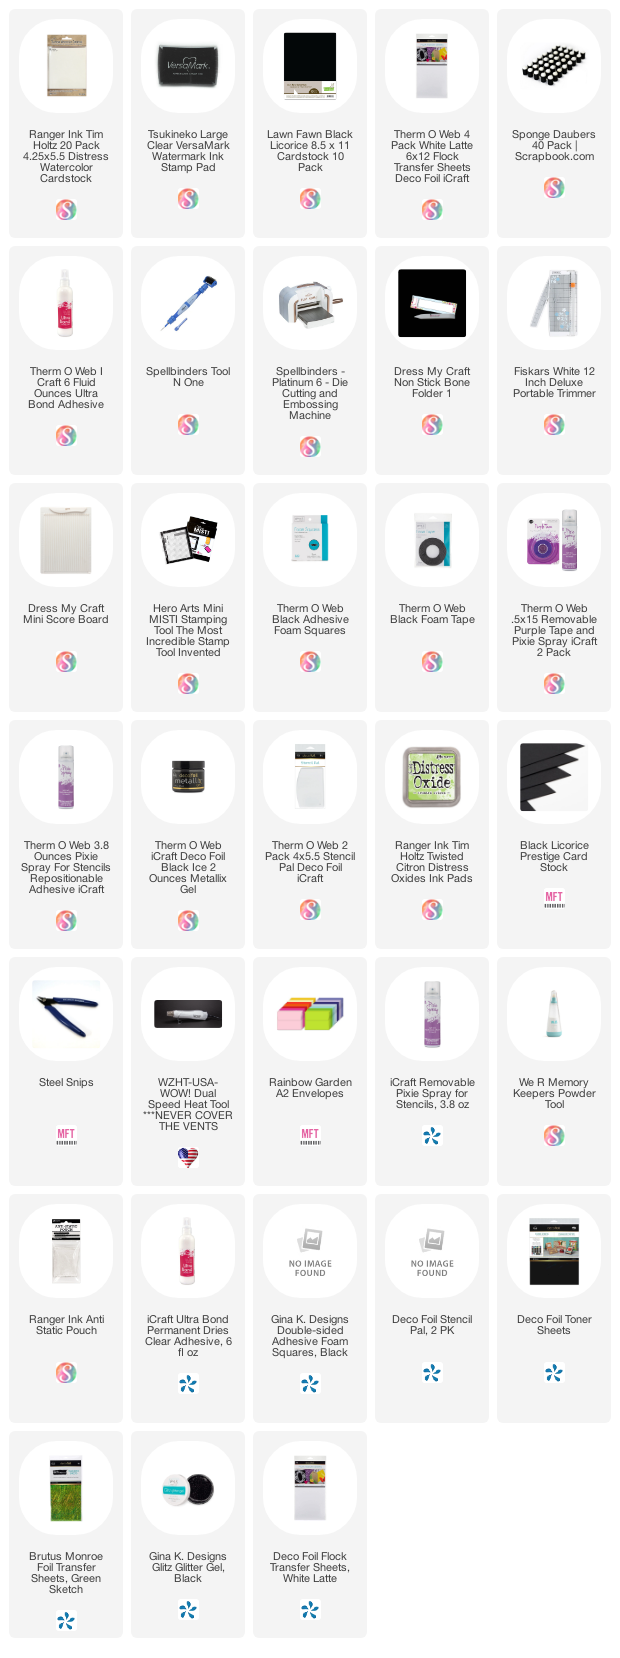
S U P P L I E S
Below you will find links to the supplies used to create this project(s). Click the icon for the store underneath the thumbnails to start shopping. Where available I use compensated affiliate links at no extra cost to you. Your support helps me to keep bringing you new projects.


Terrific card, Larissa!
ReplyDelete