Showing posts with label Woodland Spring. Show all posts

Wednesday, June 17, 2020

Newton's Nook Designs June Release ~ Neigh!!

Pin It

HELLO!! 

I'm here with Day 3 of the 


Today we're showcasing the NEW "NeighStamp Set coordinating Neigh Die Set!! 

Let's take a look at the AWESOME New Set!!
Neigh Stamp Set and Neigh Die Set by Newton's Nook Designs #newtonsnook #newtonsnookdesigns #junerelease2020 #neigh
 How CUTE are these Images!!?? I also LOVE ALL of the AMAZING Sentiment options!! 
Here's what I've created for today!! 
WOAH!! Card by Larissa Heskett for Newton's Nook Designs using the Neigh Stamp Set and Neigh Die Set, Slimline Frames & Portholes Die Set, Slimline Frames & Windows Die Set and Woodland Spring Stamp and Woodland Spring Die Set #newtonsnook #newtonsnookdesigns #neigh #slimlinedies #woodlandspring
 I Started by Stamping and Embossing the SWEET Horse Images from the NEW Neigh Stamp Set and the Flowers from the Woodland Spring Stamp Set!! I Stamped with Versa Fine Black Onyx Ink and Embossed with WoW Clear Gloss Embossing Powder!! Then I Colored the Images with Copic Markers!! I used: Horse: N0, N2, N4 & N6  Cheeks and  Inside of Ears: R11  Flowers: R00, R11 & R22  V01, V15 & V09   Greenery: G00, G02  YG61 & YG63  Horseshoe: V01, V15 & V09     Then I Die Cut the Images out using the coordinating NEW Neigh Die Set and the Woodland Spring Die Set!! I added some White Gel Pen Highlights and some Nuvo Drops in Sunshine Glitter to the center of the Flowers!! 
WOAH!! Card by Larissa Heskett for Newton's Nook Designs using the Neigh Stamp Set and Neigh Die Set, Slimline Frames & Portholes Die Set, Slimline Frames & Windows Die Set and Woodland Spring Stamp and Woodland Spring Die Set #newtonsnook #newtonsnookdesigns #neigh #slimlinedies #woodlandspring
I Die Cut the NEW Slimline Frames & Portholes and the NEW Slimline Frames & Windows using both of the NEW Sets together to create a Layered Design!! I used some TE Lavender Glaze Cardstock for the Scalloped Frame, then I Die Cut the Square Window Frame from some White Cardstock that I inked with some Hickory Smoke Distress Oxide Ink and then I cut a thin layer of some TE Sprinkles Cardstock to frame the Circle Frames Die Cut that I Cut from some White Cardstock!! I wanted the Circles openings to have some shading so I Inked them with some Tumbled Glass Distress Oxide Ink using the Circle Frame as a Stencil (I just simple flipped it over to the backside and Inked over the top!! I adhered the Images inside the Circle Frame openings and then I Stamped and Embossed the Sentiment and adhered the Horseshoe and Flower!! The Circle Frame was adhered and then I added the Woodland Spring Flowers and a scattering of some TE Bits & Pieces White Rhinestones for some Sparkle and Shine!! 


Would you like to win the "Neigh” Stamp Set!!?? 
This stamp set will be given away to ONE Lucky Winner!!
Here's how to win: Comment on the NND blog and Design Team blogs (see list below)! The winner will be chosen at random from the collective reveal posts. Make sure to check out each of their blogs and comment for your chance to win. You will not know which blog has been chosen so the more you comment on the better your chances are of winning! You have until Thursday June 18th at 9pm EST to comment  -- winners will be announced on the blog post on Friday, June 19th. 

Check out all the awesome Design Team Blogs below to enter:

THANKS SO MUCH for stopping by today!!  
Don't forget to visit tomorrow for a look at the 
NEW "Porch Swing" Stamp Set and the "Roses" Stamp Set coordinating Dies and check out the Newton's Nook Designs Blog on the 19th to see if you're one of the LUCKY Winners!! 
Have a FABULOUS WEEK!!

COUNTRY HUGS-N-KISSES
LARISSA 🐎

Friday, April 17, 2020

Send Uplifting Smiles Blog Hop!!

Pin It
HELLO!! 
I'm here with Newton's Nook Designs today for the Send Uplifting Smiles Blog Hop!! The Newton's Nook Designs and Inky Paws Challenge Team members are hopping along to Send Uplifting Smiles!! Our goal today is to help BRIGHTEN your day with Uplifting and Encouraging Cards that will make you smile!! We know that many of you are under stay home orders to help fight the spread of the Coronavirus and during this time of social distancing it's more important than ever to keep in touch with family and friends!! We encourage you to spend some time creating and sending cards to those who matter to you!! Check out all the stops in this hop to get inspired on ways you can send uplifting smiles!!
Leave comments at all the stops on the hop for a chance to win a store credit to our shop (details at the bottom of this post). 
I've created a SWEET "Thinking of You" Card for today using Images from the Woodland Spring Stamp Set!!
 I started by Die Cutting the Frames & Flags Die from some Woodgrain Patterned Paper!! Then I Die Cut a Stitched Rectangle from some Kraft Cardstock and I placed the Floral Lace Stencil that I sprayed with some Pixie Spray and adhered to the Card Panel!! I inked it with some White Pigment Ink using an Ink Dauber!! I then added some Black Soot Distress Paint Splatters and set it aside to dry!!
I Die Cut a Stitched Circle and Inked the bottom of the Circle with the Hills & Grass Stencil and Lucky Clover & Peeled Paint Distress Oxide Inks!! I used some Vintage Photo Distress Oxide Ink for some Shadows!! Then I used some Peacock Feathers for the Background!! I added some Water Splatters for some texture then I Stamped and Embossed the Sentiment!! I Stamped and Embossed the SWEET Deer Image and a Flower from the Woodland Spring Stamp Set and Colored it with Copic Markers!! 
(Deer: E40, E43, E44 & E47   Cheek and Inside of Ears: RV11   Bird: BG10, BG45 & BG49 Y00 & RV11   Flowers: Y00, Y11, Y15 & YR23   V00, V12 & V15   Greenery: YG61 & YG67  BG10, BG45 & BG49   Bow: V00, V12 & V15)
 
After coloring them I Die Cut them out with the coordinating Woodland Spring Dies!! I added some Nuvo Glitter Drops to the center of the Flowers for some Sparkle and then added them to the Inked Circle and adhered the Circle to the Card Panel!! A few Lavender Jewels were added to finish off the Design!! I LOVE the way it turned out and I KNOW it'll BRIGHTEN someones Day!! 
Feeling Inspired!!??
What will you create!!?? Newton's Nook Designs is having a SALE this weekend too so you can stock up on your favorites to make some cards today!! 

Send Uplifting Smiles Hop Giveaway!!Would you like to WIN a $25 store credit to Newton's Nook Designs online shop!!??
We are giving them out to TWO lucky winners!!

Here's how to win:
Comment on the NND blog and Design Team blogs (see list below)! The winner will be chosen at random from the collective reveal posts. Make sure to check out each of their blogs and comment for your chance to win. You will not know which blog has been chosen so the more you comment on the better your chances are of winning! You have until Monday, April 20th at 9pm EST to comment -- winners will be announced on the blog post on Tuesday, April 21st.


Check out all the awesome Design Team Blogs below to enter:

THANKS SO MUCH for stopping by today!! 
I hope you have a FABULOUS WEEKEND!! 

COUNTRY HUGS-N-KISSES
LARISSA  💖

Thursday, April 16, 2020

April Showers with Newton's Nook Designs!!

Pin It
 HELLO!! 
I'm up on the Newton's Nook Designs Blog today with this April Showers Card that just screams Spring!! I LOVE this Sentiment and I wanted to make it the focal along with creating a BEAUTIFUL Plaid that's FULL of personality all on its own!! So lets get started with the Process!!
 I Started with the NND Argyle Stencil Set layer #1 and I Sprayed the back of it with some Therm O Web Pixie Spray!! I then adhered it to my Card Panel and used some Purple Tape for some extra stability!! I then used and Inking Tool and Inked up the Design using Tumbled Glass Distress Oxide Ink!! 
 Next I used the Plaid Stencil Set placing the Stencil #1 over the Card Panel and Inking with a combination of both Tattered Rose and Abandoned Coral Distress Oxide Inks!! 
 Then I placed the #2 Plaid Stencil over the Card Panel and Inked with Milled Lavender Distress Oxide Ink!! 
 I then placed the #2 Argyle Stencil over the Card Panel and used the Therm O Web Metalix Gel in White Pearl along with a Stencil Pal!! I LOVE the Pearlescent shine of this Gel!! 
While the Gel was still wet, I sprinkled on some of the Chunky Lawn Fawn Glitter and then set it aside to Dry completely!! Once it was Dry I took a Large Brush and brushed away all of the extra Glitter and put it back into the Jar!! I think the Sparkle of the Glitter really adds to the over all design!! 
I Stamped and Embossed the April Showers Stamp Set with Versa Fine Black Onyx Ink and WoW Neutral Shimmer Glitter Embossing Powder!! I LOVE the way that the two Iridescent Glitters tie into one another!! SWOON!! That Sparkle just makes me HAPPY!! Then I added the Framework Frame that I Die Cut from some Lawn Fawn Plaid Patterned Paper!! The Colors a PERFECT match and the Smaller Scale Plaid works well with the Larger Scaled Plaid!!  Then I used the little garland of flowers from the Woodland Spring Stamp Set, coloring the image twice and using the coordinating Woodland Spring Die Set to cut them out and placed one on top and one on bottom of the framed image. The PERFECT embellishment to finish off the Design!!

THANKS SO MUCH for stopping by today and I hope you have a FABULOUS WEEK!! 
COUNTRY HUGS-N-KISSES
LARISSA  💖
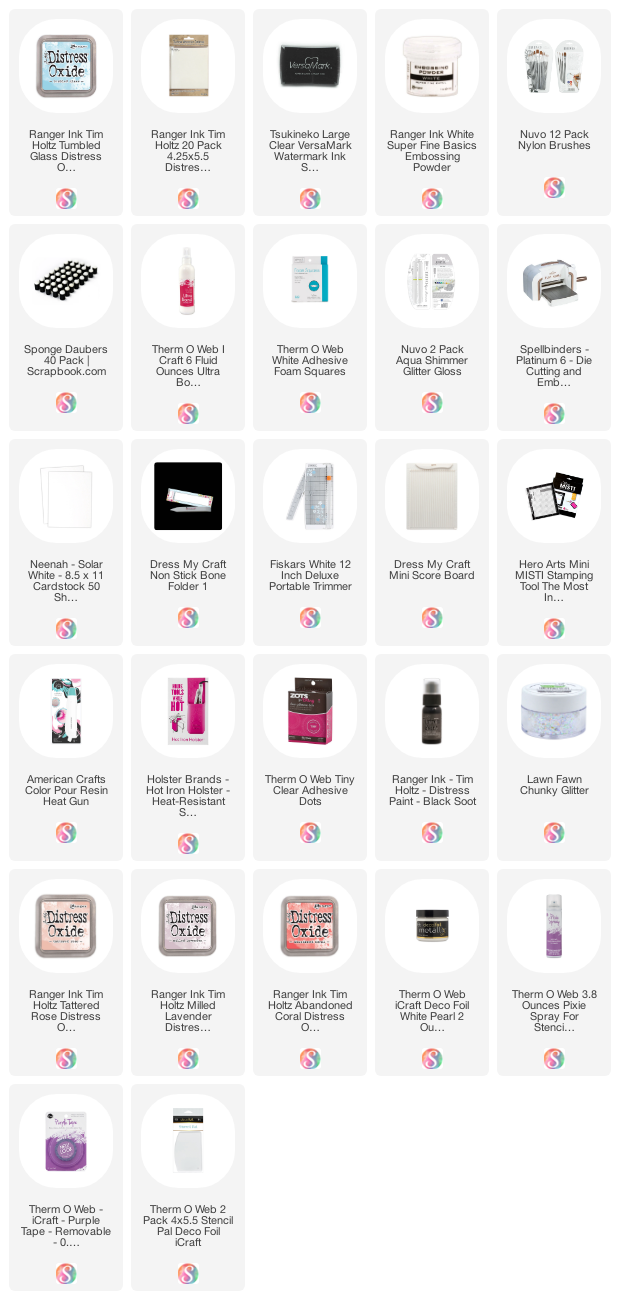
S U P P L I E S
Below you will find links to the supplies used to create this project(s). Click the icon for the store underneath the thumbnails to start shopping. Where available I use compensated affiliate links at no extra cost to you. Your support helps me to keep bringing you new projects. Thank you!!

Friday, April 5, 2019

Happy Easter Bunnies with Newton's Nook Designs!! =)

Pin It
Newton

Happy Friday Crafty Friends!! 

I'm up on the Newton's Nook Designs Blog today with this Easter bunny scene that turned out SOOOOO CUTE!! I created this adorable scene of bunnies using several different stamp sets together to create a bundle of cuteness!! I started out with the bunny adorned with flowers from the Woodland Spring Stamp Set
I also used the bunny from the Bitty Bunnies Stamp Set and mirror stamped it so that it would face toward the other bunny!! I Simply Stamped the Image onto a Gel Plate and then placed my Cardstock over the top of the Gel Plate and transferred the Image onto my Cardstock!! SWOON!! This is the BEST Mirror Image I've ever done!! I saw this technique showcased at CREATIVATION and I'm SO HAPPY I did!! The Gel plates make it SO EASY!! Plus beings I used Versa Fine Black Onyx Ink, I was able to Emboss the Image too!! YIPPEE!! I like to Stamp and Emboss ALL of my Images as I like the BOLD Image I get!! I used Copic Markers to color ALL of the Images and then DIe Cut them out using the coordinating Dies!!

To create my scene I die cut some layers of grass using the Land Borders Die Set. I added in the two bunnies along with some eggs and tiny flowers from the Bunny Hop Stamp Set. I also added in a chick from the Newton's Easter Basket Stamp Set. I added some Tumbled Glass Distress ink for the little blue in the sky behind my Images and added the "Happy Easter" Die cut sentiment using the Spring Pile Up Die Set. I Die Cut 4 layers!! Adhered them altogether and Inked the bottom half using Tumbled Glass Distress Ink!! The whole panel that the scene is on was cut out using the stitched rectangle from our Frames & Flags Die Set.
For the Cardbase background I created a gorgeous pattern using the Plaid Stencil Set. I used Milled Lavender and Wilted Violet for the First Layer!! 
 I used Spun Sugar and Picked Raspberry for the Second Layer!! 
I also added a layer of Tumbled Glass Distress Ink to the Diamonds Layers of the Argyle Stencil Set
Then I used the Dash Diamonds Layer of the Argyle Stencil Set to apply some Therm O Web Pewter Metallix Gel!! I used the Therm O Web Stencil Tool and I just LOVE how EASY it makes it!! Plus there's little Waste!! 
I wanted to add some Sparkle so I applied some Lawn Fawn Coarse Glitter!! SWOON!! Just the finishing touch I was wanting!! I sat it aside to dry!! I LOVE mixing the different Stencil Set together to create my OWN Patterns and Designs!! There are SO MANY options available!! 

Then I simple adhered the Scene Panel onto the Cardbase Panel using some Foam Tape!! I just LOVE the way it turned out and I hope you fell INSPIRED to create some Easter Cards too!!?? 

THANKS SO MUCH for stopping by today and I hope you have a FABULOUS WEEKEND!! 

I'm also linking up


Grab our badge:

COUNTRY HUGS & KISSES
LARISSA    =)

Thursday, March 14, 2019

Newton's Nook Designs March Release ~ Garden Mice + coordinating Dies!!

Pin It
Hello!!
SQUEAL!!
         I'm here with Day 4 of the 
               Newton's Nook Designs March Release 2019!! 
.       Today we're showcasing the NEW  
"Garden MiceStamp Set coordinating "Garden Mice" Die Set!! 
Let's take a look at the AWESOME New Products!!
These Images just make me SMILE and SO READY for Spring!! We spent last night without Power and this morning we're in another Blizzard, ontop of getting over 1 inch of Rain yesterday and Snow last night with winds of 70 mph!! 
Did I mention I'm READY for SPRING!!?? 
So for my Card today I've used the SWEET Mouse with the Mushroom!! I wanted to create a scene so I Stamped and Embossed the Image and then colored them with Copic Markers!! I also used the Butterfly from the Bitty Bunnies Stamp Set and the Flowers are from the Woodland Spring Stamp Set to add to my Scene!! I then worked on my Background!! I used some Tumbled Glass Distress Ink to add some color right behind where my Images would be for that haze look!! I used the Framework Die Set to create a Black Frame to make the Scene POP!! For the Grass and Mini Mushroom border I used a Lawn Fawn Die Set!! I paper pieced the Mushrooms so they'd match with my Mushroom in the Image and I LOVE how it turned out!! I added some Aged Mahogany Distress Ink to the Mushroom tops for some Texture and then I used Gathered Twigs Distress Ink for the Kraft Bases!! I Die Cut the Grass and added Peeled Paint and Gathered Twigs to the Grass for some dimension!! Some Morning Dew Nuvo Drops were added to all of the Mushroom Dots and I even added it to the Flower centers!! I Stamped and Embossed the Sentiment onto the Grass and my Card was ready to assemble!! 
 I used Foam Tape to adhere the Mouse Image and one of the Flowers!! Then I adhered just the center of the Butterfly so I could POP the wings up as if it were Flying!! Some Black Nuvo Drops were added to the Mouse's Nose and then I used a Black and White Gel pen to add some extra touches!! Hope you LOVE it as much as I do!!?? I CAN'T WAIT to see what you create with this SWEET Set!! 

Would you like to win the “Garden Mice” Stamp Set!!?? 
We will choose ONE lucky winner for each stamp set! 
Here's how to win: 
Comment on the NND blog and Design Team blogs (see list below)! The winner will be chosen at random from the collective reveal posts. Make sure to check out each of their blogs and comment for your chance to win. You will not know which blog has been chosen so the more you comment on the better your chances are of winning! You have until Thursday March 14th at 9pm EST to comment  -- winners will be announced on the blog post on Friday, March 15th.
Check out all the awesome Design Team Blogs below to enter:

THANKS SO MUCH for stopping by today!! 
The New Products will be available tomorrow Friday March 15th!! 
Don't forget to visit the NND Blog again tomorrow to see if your one of the LUCKY Winners and to shop the NEW Release Products!! 

Have a FABULOUS WEEK & WEEKEND!!

COUNTRY HUGS-N-KISSES
LARISSA   =)