Hello Crafty Friends!!
I'm here today as a Guest Designer for Spellbinders using the NEW New Start Clear Stamp Set from the Cardmaker II Collection!! SWOON!! I'm a LOVER of Butterflies and I LOVE that they can be used for Any Occasion!!

January is well on its way and Graduations will be closing in FAST!! I've created a FUN Spinner Card using SEVERAL of the NEW Spellbinders Products!! SWOON!! I just LOVE the NEW Fluted Classics Etched Dies!!


In order to create the Spinner Element, I Started by Stamping and Embossing the Main Butterfly Image!! I Stamped with Versa Fine Black Onyx Ink and then Embossed with Fun Stampers Journey Clear Embossing Powder onto Snowdrift Color Essentials Cardstock!!
Here's a Look at the STUNNING New Start Clear Stamp Set from the Cardmaker II Collection!! I LOVE all of the Sentiments that can be used for Any Occasion, but Graduation Cards came to mind while I was creating my Card for today!!

For the inside of my Card I Die Cut another NEW Fluted Classics Circles Etched Dies from some more of the and Inked it with some Salvaged Patina Distress Oxide Ink in order to help make the Spinner Butterfly Image POP even more!! Then I adhered it to the center of the Spinner Window Opening onto the Inside Panel of the Cardbase using some Bearly Art Original Precision Craft Glue!! I Stamped and Embossed the "Can't Wait to See How Far You Fly" Sentiment from the NEW New Start Clear Stamp Set onto the Bottom Inside of the Cardbase using Versa Fine Black Onyx Ink and Fun Stampers Journey Clear Embossing Powder!!
Now to make this Card even MORE Special, I wanted to decorate the A2 Envelope to coordinate with the Card!! I decide to use the same NEW Fluted Classics Rectangle Etched Die to Die Cut the same Fluted Classic Etched Design onto the Envelope Front!! So I placed the onto the front of the A2 Envelope and ran it through my Die Cutting Machine!! In order to protect the backside of my Panel I inserted a piece of Cardstock and I just LOVE the way you can dress up the front of your Envelopes using this

January is well on its way and Graduations will be closing in FAST!! I've created a FUN Spinner Card using SEVERAL of the NEW Spellbinders Products!! SWOON!! I just LOVE the NEW Fluted Classics Etched Dies!!

I Started by Die Cutting the NEW Fluted Classics Rectangle Etched Die from some Lagoon Color Essentials Cardstock!! Then I used one of the Circle Dies from the NEW Fluted Classics Circles Etched Dies to Die Cut a Circle into the Rectangle to create my Spinner Window!! I Stamped and Embossed the "Follow Your Dreams" Sentiment from the NEW New Start Clear Stamp Set onto the Bottom of the Panel using Versa Fine Black Onyx Ink and Fun Stampers Journey Clear Embossing Powder!! Then I added some Black Soot Distress Paint Splatters!! A few Teal Color Essential Gems finish off the Design on the front Panel!!

In order to create the Spinner Element, I Started by Stamping and Embossing the Main Butterfly Image!! I Stamped with Versa Fine Black Onyx Ink and then Embossed with Fun Stampers Journey Clear Embossing Powder onto Snowdrift Color Essentials Cardstock!!
Then I Colored with Copic Markers!!
Turquoise: BG10, BG45 & BG49
Turquoise: BG10, BG45 & BG49
Orange: YR00, YR18 & YR68 Yellow: Y11. Y15 & YR23
I fussy Cut the Image out and then added some White Gel Pen Details and a few Teal Color Essentials Gems for some Sparkle!! Then I Held the Image to another piece of and Fussy Cut another Butterfly Image in Order to sandwich the 2 Images together with a Piece of Heavy Duty Clear Fishing Line in between to create my Spinner Image!! Then I adhered the Image to the Back side of the Card Panel, centering it in the Center of the Circle Window using some White Liner Double Sided Adhesive Tape!! I used some Pop-Up Die Cutting Foam Sheets to cut a Smaller Panel to adhered to the back of my Card Panel and adhered it to the Cardbase for some Dimension using White Liner Double Sided Adhesive Tape!!

Here's a Look at the STUNNING New Start Clear Stamp Set from the Cardmaker II Collection!! I LOVE all of the Sentiments that can be used for Any Occasion, but Graduation Cards came to mind while I was creating my Card for today!!

For the inside of my Card I Die Cut another NEW Fluted Classics Circles Etched Dies from some more of the and Inked it with some Salvaged Patina Distress Oxide Ink in order to help make the Spinner Butterfly Image POP even more!! Then I adhered it to the center of the Spinner Window Opening onto the Inside Panel of the Cardbase using some Bearly Art Original Precision Craft Glue!! I Stamped and Embossed the "Can't Wait to See How Far You Fly" Sentiment from the NEW New Start Clear Stamp Set onto the Bottom Inside of the Cardbase using Versa Fine Black Onyx Ink and Fun Stampers Journey Clear Embossing Powder!!

Now to make this Card even MORE Special, I wanted to decorate the A2 Envelope to coordinate with the Card!! I decide to use the same NEW Fluted Classics Rectangle Etched Die to Die Cut the same Fluted Classic Etched Design onto the Envelope Front!! So I placed the onto the front of the A2 Envelope and ran it through my Die Cutting Machine!! In order to protect the backside of my Panel I inserted a piece of Cardstock and I just LOVE the way you can dress up the front of your Envelopes using this
Such an EASY Process that REALLY Packs a Punch!! Making this Card even MORE Specialized!!

Then to decorate the Back Flap of the A2 Envelope I again used the and Ran it again through my Die Cutting Machine to decorate the Flap and then I Stamped and Embossed same Butterfly Image onto the Center of the Flap again using Versa Fine Black Onyx Ink and Fun Stampers Journey Clear Embossing Powder!!
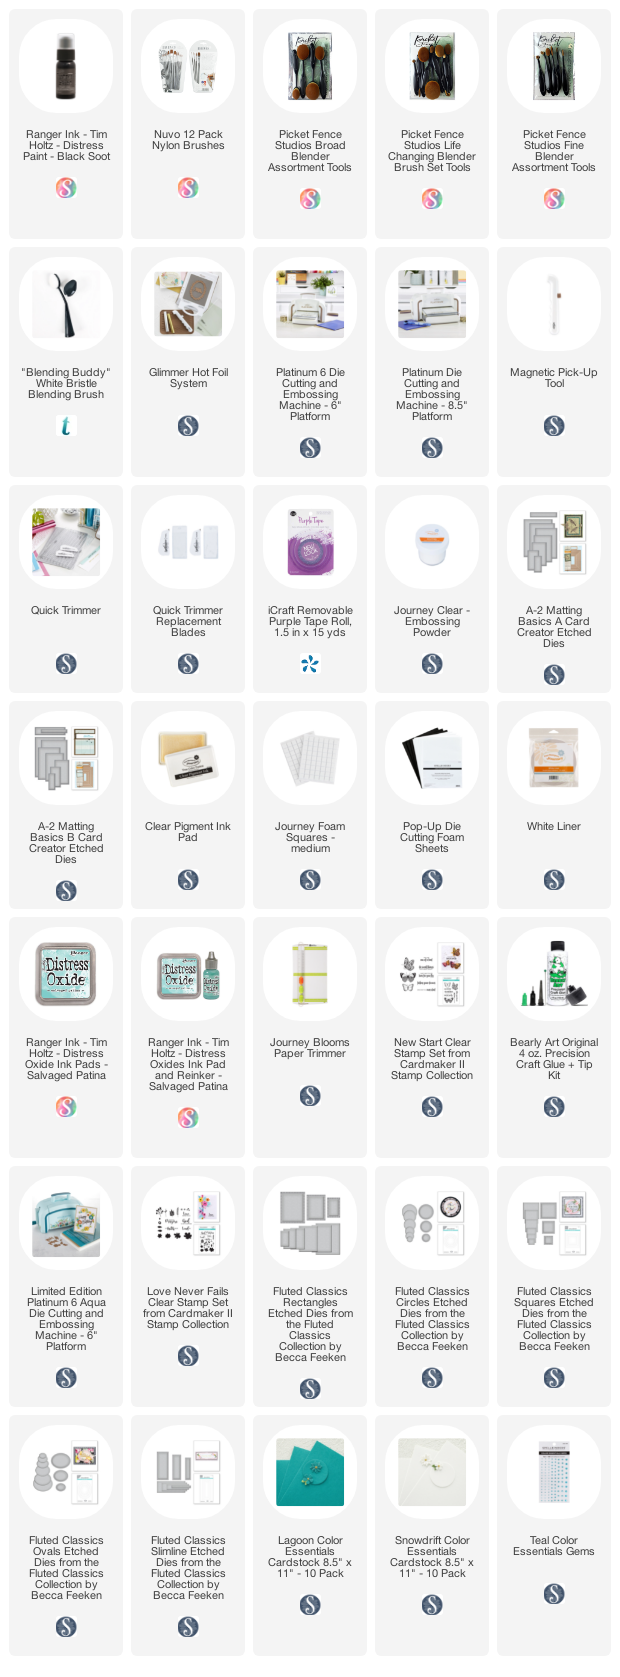
S U P P L I E S Below you will find links to the supplies used to create this project(s). Click the icon for the store underneath the thumbnails to start shopping. Where available I use compensated affiliate links at no extra cost to you. Your support helps me to keep bringing you new projects. Thank you!! 💓

Then to decorate the Back Flap of the A2 Envelope I again used the and Ran it again through my Die Cutting Machine to decorate the Flap and then I Stamped and Embossed same Butterfly Image onto the Center of the Flap again using Versa Fine Black Onyx Ink and Fun Stampers Journey Clear Embossing Powder!!
THANKS SO MUCH for stopping by today, I hope I've INSPIRED you on some MORE ways to use your FAVORITE Spellbinders Products to create some SPECIAL Graduation or Encouragement Cards, and how to Decorate those coordinating A2 Envelopes to make them feel even more SPECIAL!! I hope you have a FABULOUS WEEK!!
COUNTRY HUGS-N-KISSES
LARISSA HESKETT 🦋
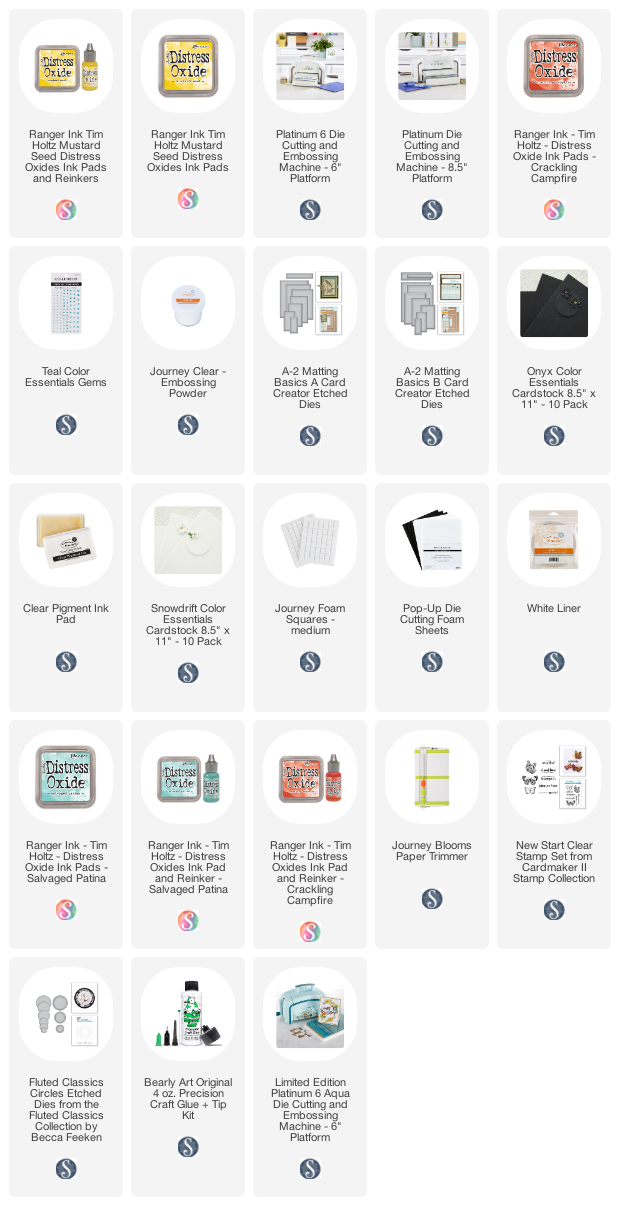
S U P P L I E S Below you will find links to the supplies used to create this project(s). Click the icon for the store underneath the thumbnails to start shopping. Where available I use compensated affiliate links at no extra cost to you. Your support helps me to keep bringing you new projects. Thank you!! 💓


