Showing posts with label Gold Glitz Glitter Gel. Show all posts

Friday, May 22, 2020

CAS-ual Fridays Stamps & Spring/Summer Coffee Lovers Blog Hop!!

Image may contain: text

HELLO!! 

I'm here today to showcase the NEW CAS-ual Fridays Stamps Coffee Chipboard!! These FUN Elements are PERFECT for all sorts of uses!! Here's a look at the NEW Coffee Chipboard!! 
Aren't they FUN!! I'm also joining in the FUN for the Spring/Summer Coffee Lovers Blog Hop!! Here's what I've created for today using them!!
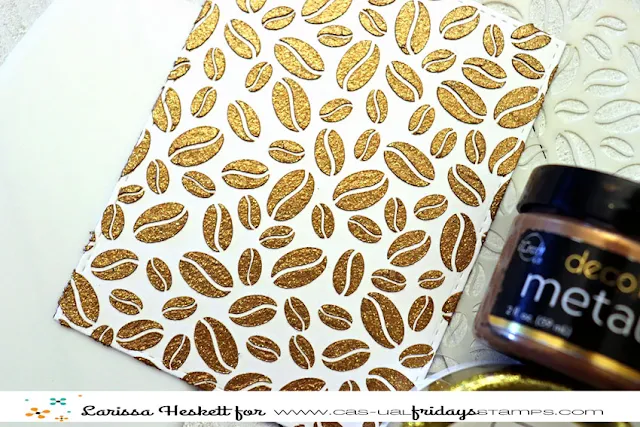
I Started by Mixing together some Therm O Web Metallix Gel in Aged Copper and some Gina K Designs Glitz Glitter Gel in Gold on a Paper Plate!! 
Here's a look at what the Gel looks like once its mixed together!! 
Then I Sprayed the backside of my By the Beans Stencil with some Pixie Spray and adhered it to my Cardstock!! I then took my Stencil Pal and applied a Thin Layer of the Gel Mixture over my Cardstock!! I didn't want to waste any of the Mixture so I applies the leftover to another piece of Cardstock using the same method!! I was able to get 2 Stenciled Card Panels out of the Mixture I created!! I set the Panels aside to Dry while I worked on the rest of my Card Elements!! 
Once the Stenciled Panel was Dry, I added some Black Soot Distress Paint Splatters foe some extra Texture and Contrast!! I Die Cut a Circle for the Focal Element and Inked in with some Tumbled Glass Distress Ink!! Then I Die Cut the Coffee Die 6 Times from some White Cardstock!! I adhered them all together using some Therm O Web Ultra Bond Adhesive and then I Inked the edges of the Coffee Cup with some Hickory Smoke Distress Oxide Ink!! I adhered all of the Inside pieces of the Coffee Cup together minus 2 of them and Inked it with Vintage Photo Distress Oxide Ink!! I added some Nuvo Shimmer Pen on top of the Vintage Photo Distress Ink and then I added some Nuvo Drops in Morning Dew over the Top to look like the Coffee inside of my Coffee Cup!! I LOVE the way it looks!!
I wanted a Raedunn inspired Coffee Cup so I painted the NEW Coffee Chipboard piece using some Black Soot Distress Paint and I also added some Barn Red Distress Paint to several of the Heart Pieces in the some Set!! Once they were Dry I adhered the Coffee Word to the front of my Coffee Cup Die and then I added some Nuvo Shimmer Pen on top of the Painted Hears and coated them with some Nuvo Drops in Morning Dew for a FUN Sparkly and Shiny finish!! I adhered the Hearts to my Card Panel using some Zots Bling Dots and I adhered the Coffee Cup Panel with some Therm O Web Foam Squares to my Card Panel!!
Then I Stamped and Embossed the Sentiment from the Stay Strong Stamp Set!! During these times I thought this was a PERFECT sentiment to use and to send to a Coffee Friend that I haven't been able to see in awhile to let her know that I MISS our Coffee Dates and Conversation!! 
So there you have it my 1st Coffee Card for the Spring/Summer Coffee Lovers Blog Hop!! I hope you'll join in on the FUN for LOTS of chances to WIN!! Plus there's a SALE going on at the CAS-ual Fridays Stamps Store!!
Use my CODE LARISSASENTME and receive another 15% off ALL off the NEW, OLD and SALE items!! That includes the already marked down Coffee Products!! So that's 40% OFF the Coffee Products when you use my CODE!! 
WHOOP WHOOP!! 
Image may contain: text
THANKS SO MUCH for stopping by today and I hope you have a FABULOUS Memorial Day Weekend!! ENJOY some time CREATING and join in the FUN!! 

COUNTRY HUGS-N-KISSES
LARISSA   ðŸ’–
S U P P L I E S
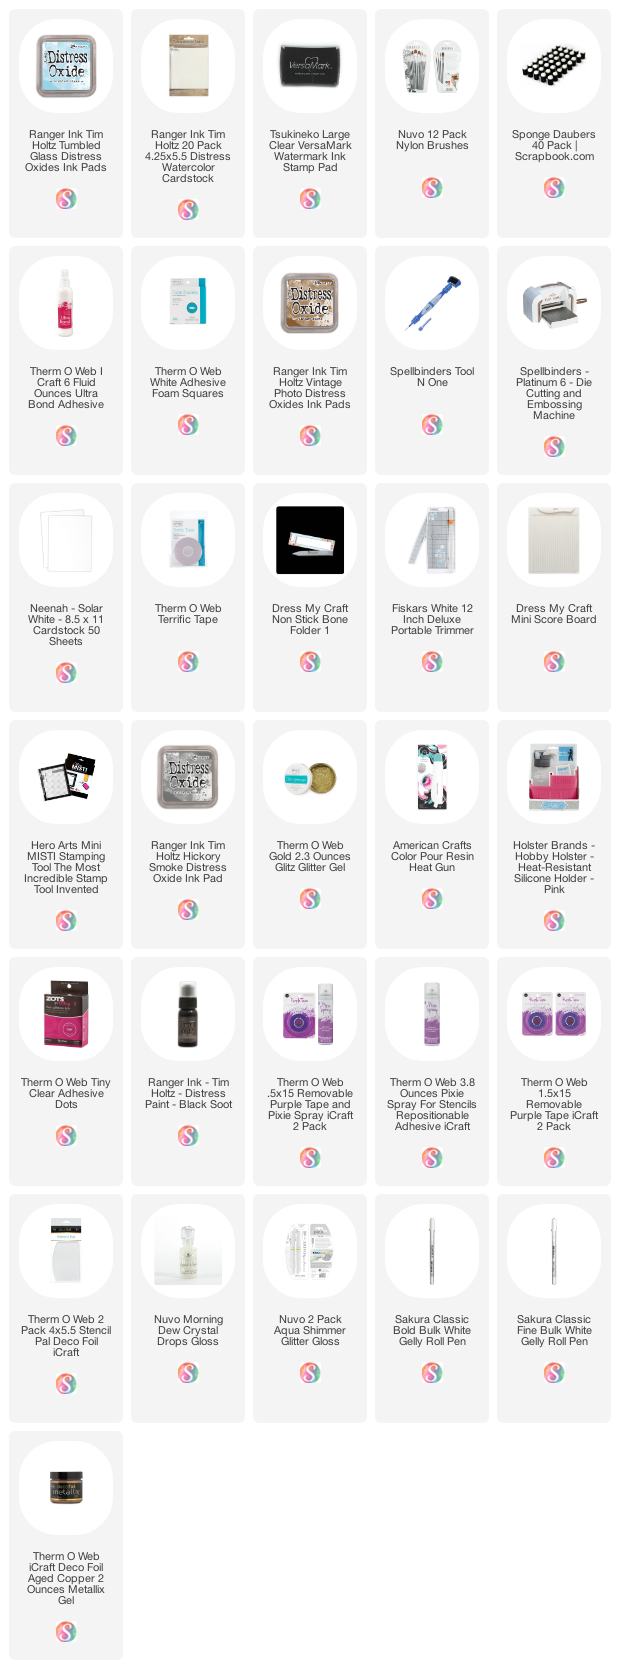
Below you will find links to the supplies used to create this project(s). Click the icon for the store underneath the thumbnails to start shopping. Where available I use compensated affiliate links at no extra cost to you. Your support helps me to keep bringing you new projects. Thank you!!
Wednesday, January 15, 2020

Paper Smooches "Anything Goes" Challenge ~ Rainbow Foiled Daisy Card!!

Pin It
HELLO!!
Welcome to the Second Challenge of the New Year with Paper Smooches!!
 For our second January challenge, we have a fan favorite- ANYTHING GOES!! 
I'm READY for SPRING, so I decided to create a BEAUTIFUL Rainbow Daisy Card using some of my FAVORITE Paper Smooches Products!! Here's my Card for the Second Challenge!! 
I started by Die Cutting the "You are a Blessing Die" from some Tim Holtz Distress Watercolor Paper!! Then I colored the Letters using Copic Markers in a Rainbow!! Using the N0 and N2 for the shading on the rest of the sentiment to help make them POP too! I then used Morning Dew Nuvo Drops to coat the BLESSING letters to add some dimension and to make them Shine!! I LOVE the way it turned out!! 


For the Daisy I used the NEW Paper Smooches Sunflower Dies!! First I foiled some Therm O Web Toner Sheets with the EXCLUSIVE Rainbow Bright Taylored Expressions Deco Foil Transfer Sheets!! If you LOVE Rainbows this Foil is a MUST have and trust me you'll want to add it to your stash for ALL things Rainbow a FUN!! I then Die Cut it 2 times from the Larger Die and once from the Smaller Die trying the Cut the Colors in a Similar way so I could keep the Rainbow some what in order as I Layered my Flower together!! For the Daisy Center I Die Cut the Base Circle from some Yellow Cardstock and then Die Cut the Top Layer from some Cardstock that I coated with some Therm O Web Gold Glitz Glitter and let Dry!! Once Dry its a STUNNING Glitter Cardstock PERFECT for Die Cutting!! I inked it with some Vintage Photo Distress Oxide Ink!! Then used some Therm O Web Mini Bling Zots to adhere the Daisy together making sure to keep the colors in order so my Rainbow would still be visible!! I then adhered some Emerald Green Deco Foil Flock to a piece of Green Cardstock using aome Therm O Web Easy Cut adhesive sheets!! I wanted the Leaves to be Flocked and have that Velvety Texture!! So I Die CUt them from the Flock and then used Distress Oxide Inks in Pine Needles and Vintage Photo to add some Dimension to the Leaves!! I adhered them under the Daisy with some more Mini Bling Zots!! Then adhered the Sentiment and adhered the panel onto a Scalloped Frame die cut from some Fog Simon Says Stamp Cardstock!! I LOVE the way it turned out and I can't wait to see what you create!!  

Here's how to play along!! 
Challenge deadline: January 28th, 2018 at 11:59pm PST
Winners will be posted on January 30th or 31st. 
Next challenge begins February 1st. 

Here are the rules: 
  1. Create a NEW project (card, tag, layout, journaling page, etc).
  2. You must use at least one Paper Smooches stamps/dies or free digital images- please link to our website: http://www.papersmoochesstamps.com
  3. Post your project on your blog/social media platform and submit a direct link to your post/image using our linking system. 
  4. Please display our banner on your blog post (right click on the banner and save to your computer. If you have any trouble, I am happy to email the image to you, savannahland2 at comcast dot net)
  5. All skill levels are welcome!!! 
  6. You can enter as many times as you like! 
Here's what you are playing for: 3 winners

  • One winner will win a prize pack (pictured below)
  • One winner will receive a $25 Paper Smooches gift certificate
THANKS SO MUCH for stopping by today and I hope you have a FABULOUS Week/Weekend!! I'm leaving for CREATIVATION tomorrow and I'm SO EXCITED to finally be meeting Kim Mraz in person along with several of my other FAVORITE Crafty Peeps!! I'll be offering up some Prizes while I'm away, so if you don't follow me on Instagram HERE please do so you don't miss out on the chance to WIN while I'm at CREATIVATION!! 
  • COUNTRY HUGS-N-KISSES 
    LARISSA  💖