HELLO CRAFTY FRIENDS!!
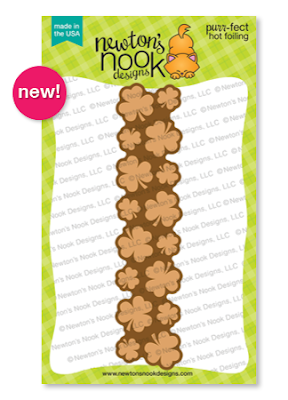
Welcome to Release Day for the Newton's Nook Designs Lucky Release, for February 2024!! Today I'm sharing a couple Projects that I've made using the NEW Newton's Lucky Clover Stamp Set and coordinating Newton's Lucky Clover Die Set and Lucky Dog Stamp Set and coordinating Lucky Dog Die Set and the Shamrocks Hot Foil Plate!!
Welcome to Release Day for the Newton's Nook Designs Lucky Release, for February 2024!! Today I'm sharing a couple Projects that I've made using the NEW Newton's Lucky Clover Stamp Set and coordinating Newton's Lucky Clover Die Set and Lucky Dog Stamp Set and coordinating Lucky Dog Die Set and the Shamrocks Hot Foil Plate!!
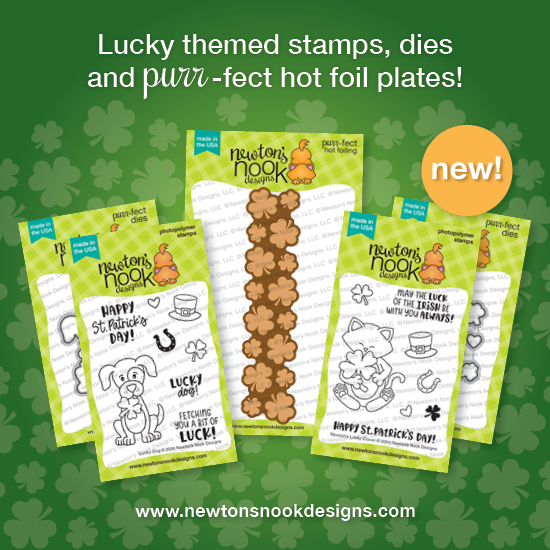
Here's a Close up look at ALL of the NEW Products being showcased for today!!

SQUEAL!! I ADORE ALL of these Products and can't wait to share what I've created with them!! Let's get started!!
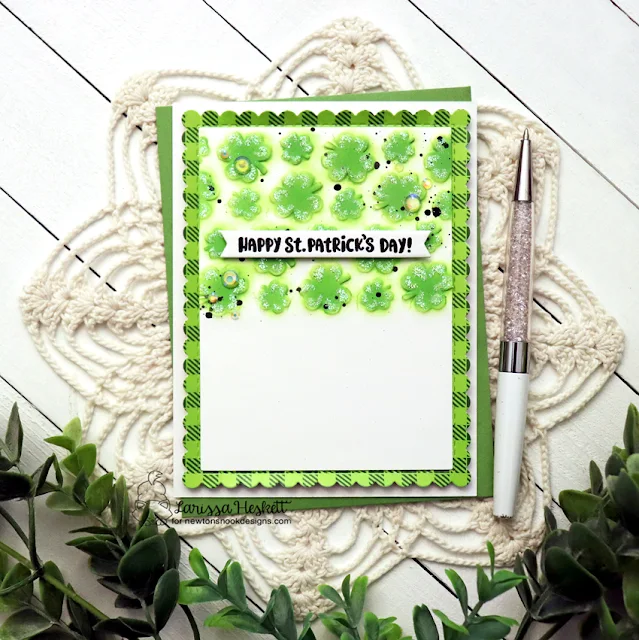
I Started by Embossing the New Shamrock Hot Foil Plate onto some White Cardstock!! Then I added some Sparkle and I LOVE how this Card turned out!!Once Embossed, I Inked with some Distress Oxide Ink in Mowed Lawn!!

SQUEAL!! I ADORE ALL of these Products and can't wait to share what I've created with them!! Let's get started!!

I Started by Embossing the New Shamrock Hot Foil Plate onto some White Cardstock!! Then I added some Sparkle and I LOVE how this Card turned out!!
Here's a close up look at the Texture and how the Shamrocks really POP once they've been Inked!! It's hard to see the effect of the Embossed Design, but in real life it's AMAZING!!

I added some Black Soot Distress Paint Splatters to the Card Panel and then used my Quicke Glue Pen to add some adhesive to the Shamrocks then I applied some WoW Sparkles in Crystal!! SWOON!! I LOVE the Iridescent Sparkle this adds to the Shamrocks!!

Here's a close up look at the Shamrocks and all of their Sparkling Goodness!!
So FUN right!!??

Then I Stamped and Embossed the Sentiment onto a Die Cut Banner from some White Cardstock using the Banner Duo Die Set!! I Stamped with Versa Fine Black Onyx Ink and Embossed with WoW Clear Gloss Embossing Powder!! Next I adhered it to the Card Panel using some Foam Tape for some Dimension!!

I adhered the Card Panel to a Frames & Flags Scalloped Rectangle Die Cut from some of the Meowy Christmas Patterned Paper!! Then I finished off the Designs by adhering some Trinity Stamps Fairy Rocks Rhinestones!! I LOVE how the Iridescent Sparkle coordinates with the Crystal Sparkles!!


I added some Black Soot Distress Paint Splatters to the Card Panel and then used my Quicke Glue Pen to add some adhesive to the Shamrocks then I applied some WoW Sparkles in Crystal!! SWOON!! I LOVE the Iridescent Sparkle this adds to the Shamrocks!!

Here's a close up look at the Shamrocks and all of their Sparkling Goodness!!
So FUN right!!??

Then I Stamped and Embossed the Sentiment onto a Die Cut Banner from some White Cardstock using the Banner Duo Die Set!! I Stamped with Versa Fine Black Onyx Ink and Embossed with WoW Clear Gloss Embossing Powder!! Next I adhered it to the Card Panel using some Foam Tape for some Dimension!!

I adhered the Card Panel to a Frames & Flags Scalloped Rectangle Die Cut from some of the Meowy Christmas Patterned Paper!! Then I finished off the Designs by adhering some Trinity Stamps Fairy Rocks Rhinestones!! I LOVE how the Iridescent Sparkle coordinates with the Crystal Sparkles!!

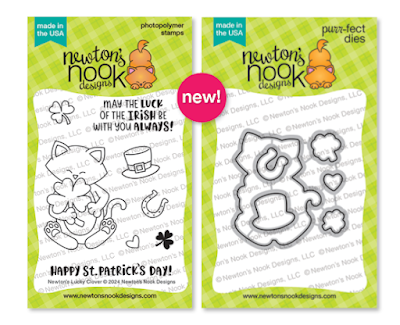
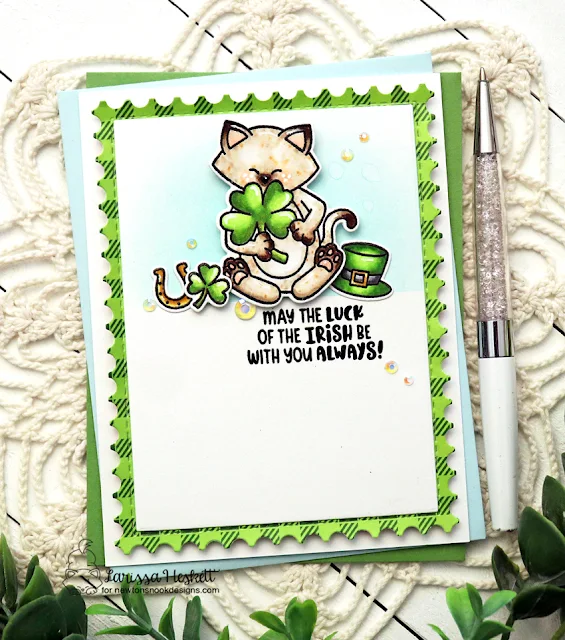
I Stamped and Embossed the Images from the NEW Newton's Lucky Clover Stamp Set using Versa Fine Black Onyx Ink and WoW Clear Gloss Embossing Powder!!
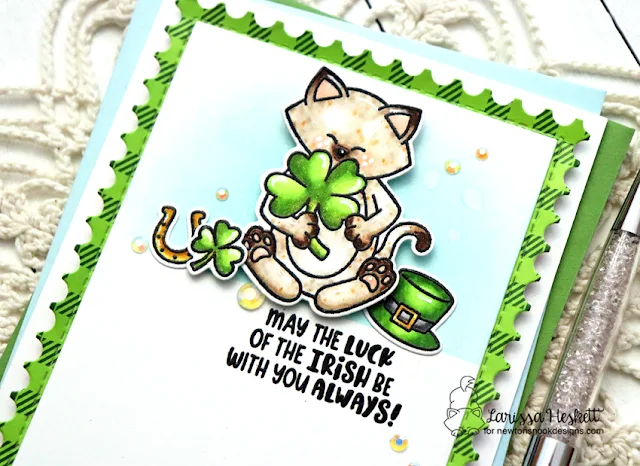
Then I used Copic Markers to Color the Images!!
Kitten: E40, E43, E99 & E47 Cheeks & Paws: R00 Green: YG00, YG23 & YG17
Gold: Y00, Y13 & YR23 Black: N0, N3 & N6
Then I used the coordinating NEW Newton's Lucky Clover Die Set to Die Cut the mages out!! I added some White Gel Pen & Black Glaze Gel Pen Highlights and some Midas Touch Gold Glitter Pen to the Images to add some Highlights and Sparkle!!
I masked the Background and Inked the Background with some Distress Oxide Ink in Salvaged Patina!! Then I Stamped and Embossed the Sentiment!! I adhered the Images using some Foam Tape in areas for Dimension!! I adhered the Card Panel to a Framework Die Set Postage Stamp Rectangle Die Cut from some of the Meowy Christmas Patterned Paper!! I added some Trinity Stamps Fairy Rocks Rhinestones and my Card is ready to send!! Kitten: E40, E43, E99 & E47 Cheeks & Paws: R00 Green: YG00, YG23 & YG17
Gold: Y00, Y13 & YR23 Black: N0, N3 & N6
Then I used the coordinating NEW Newton's Lucky Clover Die Set to Die Cut the mages out!! I added some White Gel Pen & Black Glaze Gel Pen Highlights and some Midas Touch Gold Glitter Pen to the Images to add some Highlights and Sparkle!!

I repeated the same process as the last Card, only this time I'm using the Images from the NEW Lucky Dog Stamp Set and I'm adding the Images to the bottom of the Card Panel!! I think its FUN to mix up the orientation of the Design, especially when I'm making multiples of a Design as it just makes the process more fun!!
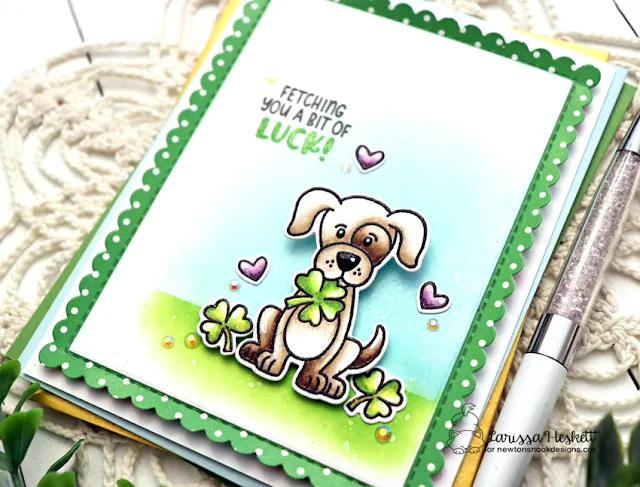
I Colored the Images with Copic Markers!!
Dog: E40, E43 & E47 Cheeks: R00
Green: YG00, YG23 & YG17 Purple: V00, V15 & V09
Then I used the coordinating NEW Lucky Dog Die Set to Die Cut the mages out!! I added some White Gel Pen & Black Glaze Gel Pen Highlights and some Midas Touch Gold Glitter Pen to the Images to add some Highlights and Sparkle!!
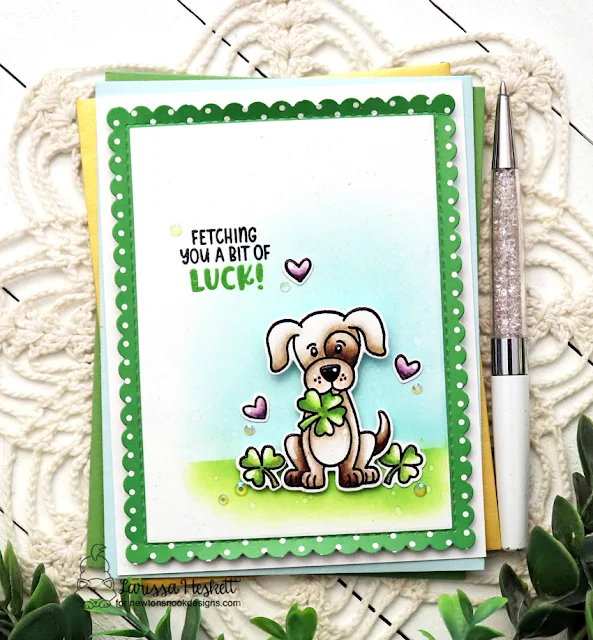
I LOVE how these Projects turned out and hope you do too!!??
THANKS SO MUCH for stopping by today I hope I've INSPIRED you on ways to create with the NEW Products!! I hope you have a FABULOUS WEEKEND!!
COUNTRY HUGS-N-KISSES
LARISSA 💖
COUNTRY HUGS-N-KISSES
LARISSA 💖




Cute cards, Larissa! The last one with the little pup is my favorite!
ReplyDelete