

HELLO CRAFTY FRIENDS!!
Today I'm here for the Simon Says Stamp STAMPtember Event collaboration with Newton's Nook Designs!!

SQUEAL!! I've been counting down the days until I could share with you this ADORABLE EXCLUSIVE Stamp Set!! Here's a Close up look of it!!


I've designed several projects for today to share some different ideas on ways to use this ADORABLE EXCLUSIVE Stamp Set!!

My first Card uses the Larger Images in the set to created a Stamped and Embossed Background!! I LOVE creating my own patterned paper with Images from my Stamp Sets!! I Stamped in Versa Fine Black Onyx Ink and Embossed with WoW Clear Gloss Embossing Ink!! Then I heat set it with my Heating tool!! I added some Black Soot Distress Paint Splatters and then set the Panel aside to Dry!!

Next I Die Cut a Scalloped Circle from some of the SSS Cardstock and then Die Cut a Stitched Circle from some Distressed Watercolor Cardstock and Inked it with some Tumbled Glass Distress Oxide Ink!! Then I Stamped and Embossed the Sentiment from the Stamp Set using Versa Fine Black Onyx Ink and WoW Clear Gloss Embossing Powder!! Then I Stamped and Embossed the SWEET Image and Colored it with Copic Markers!! I used:
Then I Fussy Cut the Image out and added it to the center of the Circle with some Gina K Designs Foam Squares!! You could also use an Action Wobbler which would be FUN too!! I finished off the Design with a White Clay Heart on the Pocket!! Just makes me SMILE!!

I wanted a coordinating Envelope to go with my Card so I used the Simon Says Stamp Envelope and Stamped and Embossed the Same SWEET Image onto the Flap of the Envelope!! Then I added another Sentiment and added a few Black Soot Distress Paint Splatters to finish it off!! I LOVE being able to create Coordinating Sets to send and I LOVE that Simon Says Stamp has an ENTIRE Line of Envelopes in different sizes that coordinate with their BEAUTIFUL Cardstock Colors!!

I Stamped and Embossed the Sentiment on the inside of the Card after adding some Tumbled Glass Distress Oxide Ink to coordinate with the front of the Card!! I used the same Copic Markers I used on the Pocket and then Embossed the Birthday Wishes Sentiment with some WoW Blueberry Embossing Powder and added another White Clay Heart!!

My next Card is a CAS Design!! I wanted to show that even by using just a Single SWEET Image from the Set you can create SEVERAL Mass Produced Cards to have on hand for different occasions being there are several different Sentiments in the Set!!
I Started by Die Cutting the Scalloped Frame from the NND Frames & Flags Die Set from some Sunny Studios Blue Gingham Patterned Paper!! Then I Die Cut a Stitched Rectangle Die from some Distress Watercolor Cardstock to add to the center of the Scalloped Frame!!

Then I Inked the Center of the White Cardstock with some Distress Oxide Ink and Tumbled Glass!! I added some Water Splatters and a few Blue Print Splatters!! I Stamped and Embossed the Sentiment and added a few Jewels and Clay Hearts to finish off the Design!!

I also created a coordinating Envelope to match using a SSS Envelope!! I Traced the Flap onto the backside of my Sunny Studios Patterned Paper and then cut it with my Scissors and adhered it to the Flap of the Envelope!! Then I Stamped and Embossed a Sentiment from the Set onto the Flap!! A really Simple CAS Card and coordinating Envelope PERFECT for Mass Producing or just creating for a SPECIAL Occasion!!

My last Project is couple sets of really ADORABLE Shrink Plastic Earrings!! If you know me then you know I'm ALL about the Details!! Whether its in my Card Designs, or my personal Wardrobe!! You rarely will ever see me without my Jewelry!! Even if I'm just driving a Tractor to Pick up Hay Bales in the Field, or running the Elevator for Harvest!! So I just had to create some ADORABLE Earring with these Images!! I used some of the Graffix Shrink Plastic and Stamped the Images using STAZon Pigment Ink using my MISTI Stamping Tool!! Then I used my Copic Markers to Color the Images in!! I used:

Next I Fussy Cut the Images out and then I used the Sizzix Shrink Plastic Tool to help in the Heating process with Heating the Plastic to Shrink it!! I've been making Shrink Plastic Earrings for a long time and I haven't found anything I LOVE more than this Tool for making these type of Earrings!!

Next I adhered the Earring Backs onto the back of the Shrink Plastic using some E6000 Glue and then setting them aside to Dry!! I like to give them 24 hours to dry before I wear them or adhere them to the CUTE Tags I made for Gift Giving!!
I hope you LOVE this ADORABLE EXCLUSIVE Set as much as I do and if you like it don't wait as its a LIMITED Set once they're SOLD OUT they're GONE!!
THANKS SO MUCH for stopping by today and have a FABULOUS WEEK!!
COUNTRY HUGS-N-KISSES
LARISSA 💗
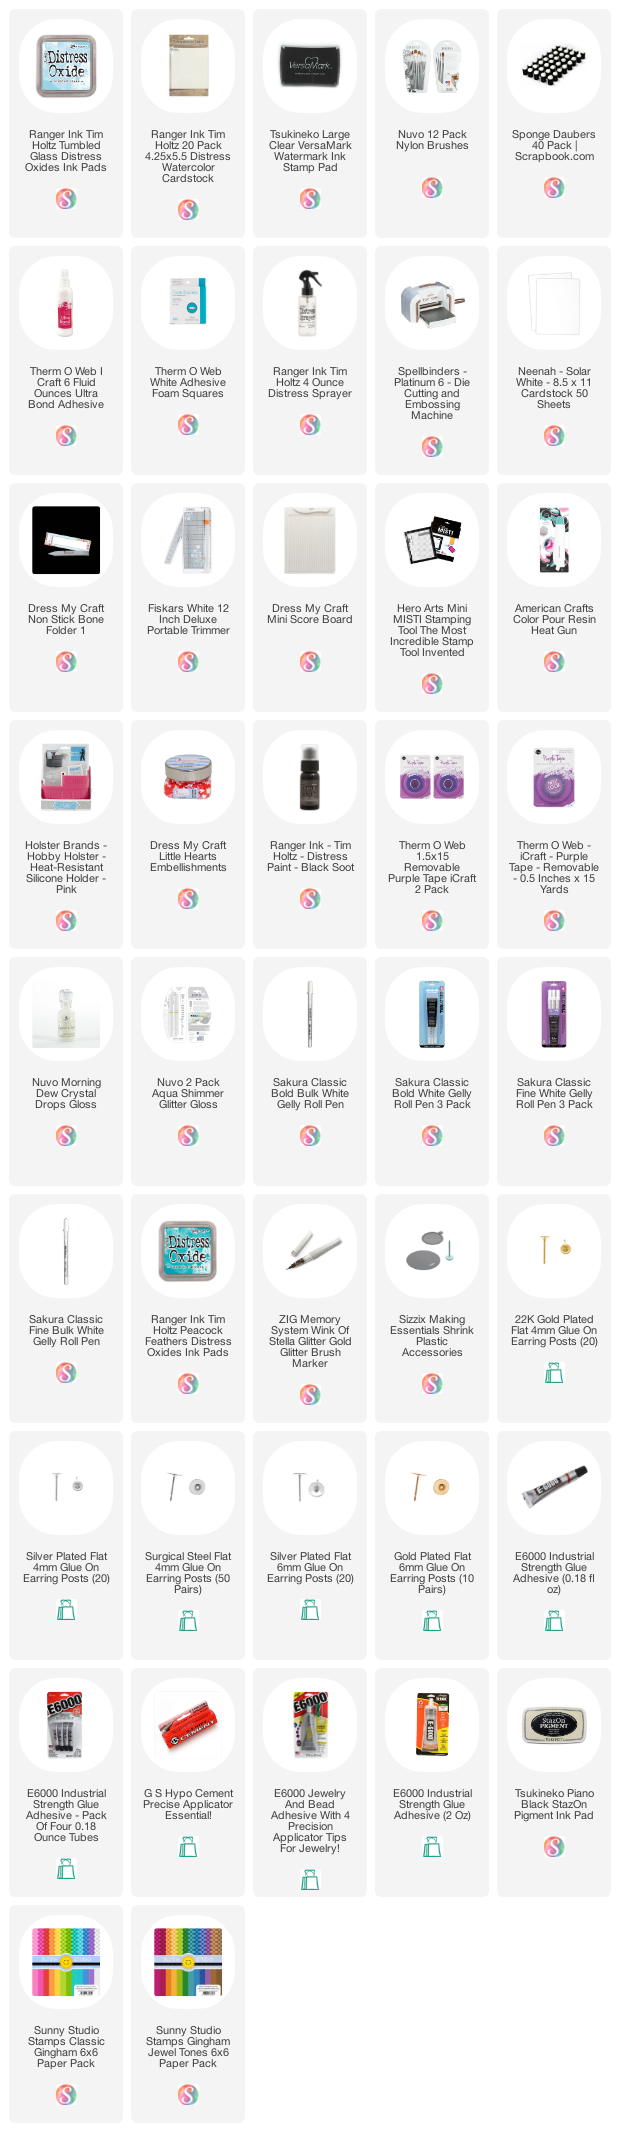
S U P P L I E S
Below you will find links to the supplies used to create this project(s). Click the icon for the store underneath the thumbnails to start shopping. Where available I use compensated affiliate links at no extra cost to you. Your support helps me to keep bringing you new projects. Thank you!!

How CUTE!! Your card and those earrings are just as sweet as they can be!
ReplyDeleteoh how CUTE.
ReplyDeleteThose earrings are so fun!