HELLO CRAFTY FRIENDS!!
I'm here with Day 3 of the
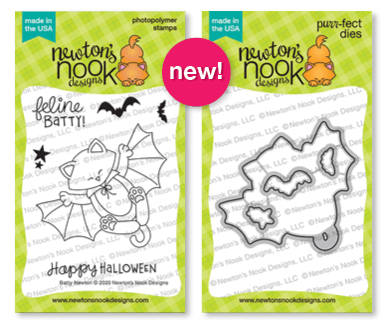
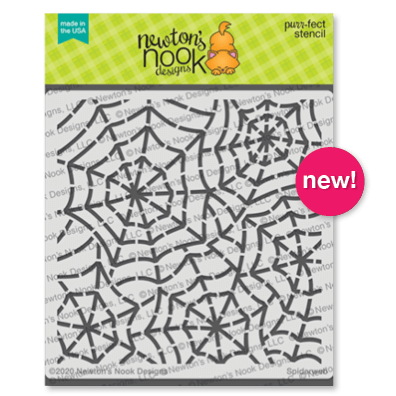
Newton's Nook Designs June Release!! Today we're showcasing the NEW "Batty Newton" Stamp Set + coordinating Batty Newton Dies, "Spooky Roundabout" Stamp Set, and the Spiderweb Stencil!!
Let's take a look at the AWESOME New Set!!

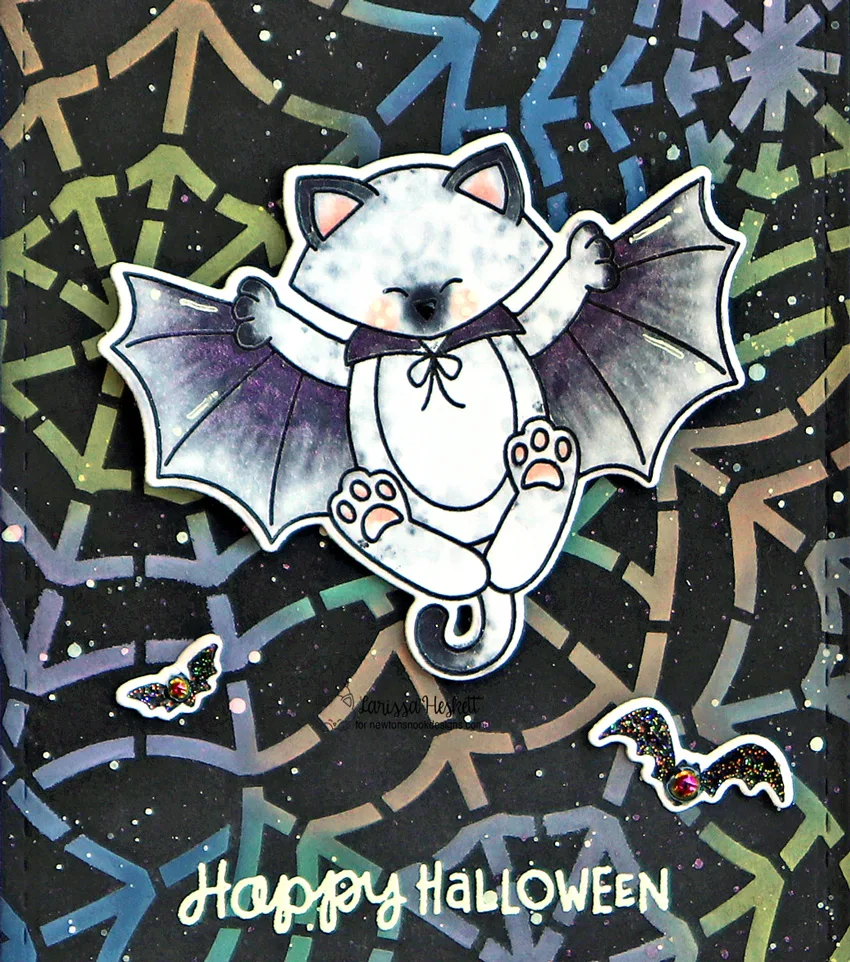
SQUEAL!! I just LOVE this SWEET NEW Batty Newton Stamp Set!! I wanted to create a FUN Background to set my scene so I sprayed the backside of the NEW Spiderweb Stencil and adhered it over my Black cardstock Card Panel!!
I used Distress Oxide Inks to Ink up the FUN Design!! Squeezed Lemonade, Dried Marigold, Wiled Violet, Twisted Citron and Blueprint Sketch!! I tried to apply the Colors beside a Color that would blend rather than make mud!! I really LOVE the results and I think this would be FUN to play around with more to see what other results you could get!! I then Die Cut the Panel using a Stitched Rectangle Die!!

I Stamped and Embossed the NEW Batty Newton Image and colored it in using Copic Markers!! Batty Newton: N0, N2, N4, N6 & N8 Cheeks: R11 Then I Die Cut it out using the coordinating NEW Batty Newton Die Set!! I Stamped and Embossed the Bat Images also from the Set in Black Onyx Ink and Embossed with WoW Neutral Ultra Shimmer Embossing Powder!! Then I Die Cut them out!! I added some Nuvo Rose Quartz Shimmer Pen to the Batty Newton Wings and the Collar and then I also added some Splatters to the Spiderweb Background!! SWOON!! I LOVE the Shimmer it adds!!
I Die Cut a Frames & Flags Scalloped Rectangle from some TE Lavender Glaze Cardstock and inked the edges litghtly with some Wilted Violet Distress Oxide Ink to help make the panel POP!! Then I adhered the Stenciled Card Panel after I Stamped amd Embossed the Sentient in WoW Bright White Embossing Powder!! I also added some Picket Fence Distress Paint Splatters for some Light Highlights!! I Adhered the Batty Newton with some Gina K Designs Foam Squares and adhered the other Bats jut gluing the center of them so I could POP up their Wings!! I adhered 2 Black Iridescent Pearls to the center of the Bats and y Card was finished!! I also created a coordinating Envelope using a TE Lavender Glaze Envelope and Inking the NEW Spiderweb Stencil in Black Soot Distress Ink!! I also added some Picket Fence Distress Splatters and I LOVE the way this set turned out!! For my next Card I KNEW I wanted to use more of a Pastel Color Scheme and I REALLY LOVE the way it turned out!! I Started by Stamping and Embossing the NEW Spooky Roundabout Image onto some Distress Watercolor Paper!! Then I used Copic Markers to Color it in!! Ghosts: V000 & V01 Pumpkins: YR00 & YR02 Skulls: YG00 & YG01 Stars: Y11 Candycorn: YR00, Y11 & N0 Bats: T0 & T3 Background: B41, B45 & B37 I Die Cut the Image out using the Circle Frames Die Set and then backed it with a TE Oreo Cardstock Circle and then I Die Cut the Scalloped Circle from some TE Lavender Glaze Cardstock!! I Inked the edges with some Wilted Violet Distress Oxide Ink to help make it POP!! Then I created my Card Panel!! I Stamped the NEW Spooky Roundabout Image onto the bottom 1/3 of my Card Panel using some TE Sea Salt Ink!! I inked it a few times using my MISTI Stamping tool to help make it alittle darker and I really LOVE it!! Then I added some Black Soot Distress Paint Splatters and then I Stamped and Embossed my Sentiment using my MISTI Stamping tool to help curve the sentiment to HUG the Scalloped Circle Focal Point!! I LOVE curving my Sentiments and really think it helps to draw your eye to the Center of the Card!! New I adhered a few Iridescent Pearls to finish off the Design!!
To finish off this Set I Stamped a coordinating TE Lavender Glaze Envelope with the NEW Spooky Roundabout Image using the same TE Sea Salt Ink!! The MISTI Stamping tool makes this easy to do!! Then I Stamped and Embossed the Sentiment and added some Black Soot Distress Paint Splatters!! This card just makes me HAPPY!!
To finish off this Set I Stamped a coordinating TE Lavender Glaze Envelope with the NEW Spooky Roundabout Image using the same TE Sea Salt Ink!! The MISTI Stamping tool makes this easy to do!! Then I Stamped and Embossed the Sentiment and added some Black Soot Distress Paint Splatters!! This card just makes me HAPPY!!
Would you like to win the "Batty Newton" or "Spooky Roundabout" Stamp Set!!??
This stamp set will be given away to ONE lucky winner!!
Here's how to win: Comment on the NND blog and Design Team blogs (see list below)! The winner will be chosen at random from the collective reveal posts. Make sure to check out each of their blogs and comment for your chance to win. You will not know which blog has been chosen so the more you comment on the better your chances are of winning! You have until Thursday August 20th at 9pm EST to comment -- winners will be announced on the blog post on Friday, August 21st.
Check out all the awesome Design Team Blogs below to enter:
THANKS SO MUCH for stopping by today!! Come back tomorrow for a look at the NEW "Knight Owl" Stamp Set + coordinating Dies, and "Pug-kin" Stamp Set+ coordinating Dies!!
Don't forget to check out the Newton's Nook Designs Blog on the 21st to see if you're one of the LUCKY Winners!!
Have a FABULOUS WEEKEND!!
COUNTRY HUGS-N-KISSES
LARISSA 💗
S U P P L I E S
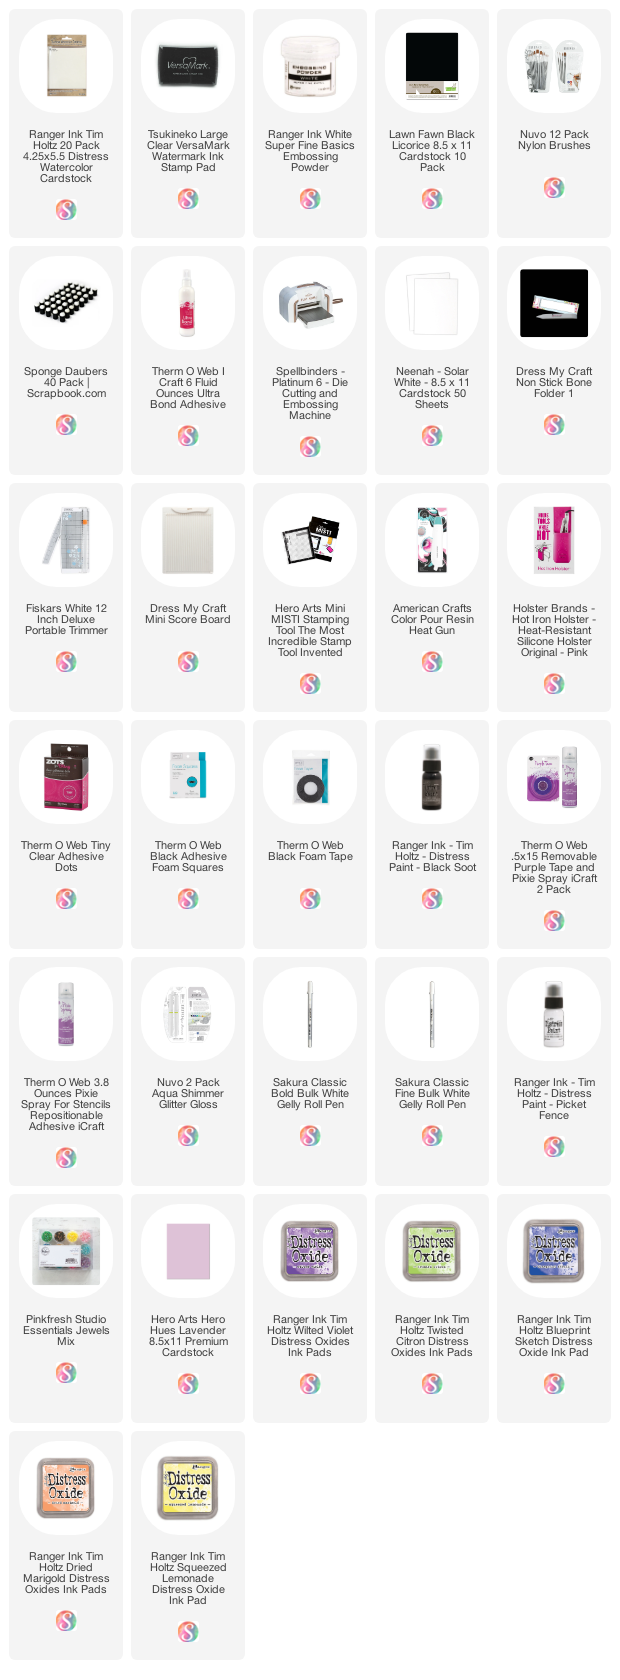
Below you will find links to the supplies used to create this project(s). Click the icon for the store underneath the thumbnails to start shopping. Where available I use compensated affiliate links at no extra cost to you. Your support helps me to keep bringing you new projects. Thank you!!


These are both amazing larissa!!!
ReplyDeleteWhat a great idea with the web stencil in COLOR! I love both cards!
ReplyDeleteawesome background on card with Batty Newton!
ReplyDeleteother card is wonderful!
great new products!
So fun!
ReplyDeleteRosalie 🐈🐾🦇
Gorgeous I just love that stencil
ReplyDeleteClaire Mrs H's Crafty Corner
Darling cards! I love the pastel colors, too!
ReplyDeleteGreat cards! I am really loving Batty Newton! Fun background with the spiderweb stencil, and great colors for your Spooky Roundabout card too! Love these designs!
ReplyDeleteThe black background one is so cool! I also love the one with the little ghosts, etc. SO COOL
ReplyDeleteThe colorful webbing is a great idea.
ReplyDeleteLove the shading on the wings.
Fun cards. thanks for sharing
txmlhl(at)yahoo(dot)com
Love the multicolored BG on the first card!! And, the way you used the roundabout stamp at the bottom of the second is genius!!
ReplyDeleteBoth of your cards are absolutely adorable. I will have a difficult time not spending a lot with Newton’s Nook Designs!!
ReplyDeleteI love the way you colored Batty Newton! :)
ReplyDeleteLove, love, love your pretty cards! So fun. Love that stencil.
ReplyDeleteSpooktacular designs. Batty Newton is my favorite. Not sure why I’m appearing as unknown in the different post’s comments...I’m logged into my Google account. Oh well. Thank you for sharing. KarenRo.
ReplyDeleteYour multicolor spiderweb background on your first card is fabulous! Love the added touches of lavender glaze card stock on both cards. Really pretty!
ReplyDeleteNever thought of ink blending on black! Have to try it out soon 😍
ReplyDeleteGreat cards, I love the colors you chose.
ReplyDeleteLove this release and the wonderful card inspiratioN!
ReplyDeleteHow FUN are these!!
ReplyDeleteThis release if wonderful and I love your colorful spider webs!
ReplyDeleteI love how you did the spiderweb and the color palette for both cards!
ReplyDeleteThese sets are so cute!! I am so inspired by your spider web stencil! I forget oxides can be used on black! Wonderful results!!!
ReplyDeleteWonderfully arranged with Halloween theme.
ReplyDeleteMelissa
"Sunshine HoneyBee"
Your Newton card is spectacular! Love the distress colors against the black & hints of sparkle!
ReplyDeleteI love your colors! Great set!
ReplyDeleteBeautiful coloring technique on the little touch of purple in the ghosts! Super bright and cheerful Halloween designs!
ReplyDeleteI love the background you created for Batty Newton! Super cute cards!
ReplyDeleteLove how you've showcased these new products! Wonderfully done!
ReplyDelete