HELLO CRAFTY FRIENDS!!
I'm here with Day 1 of the
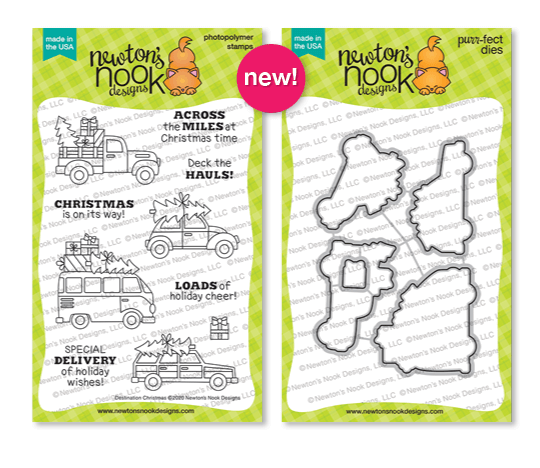
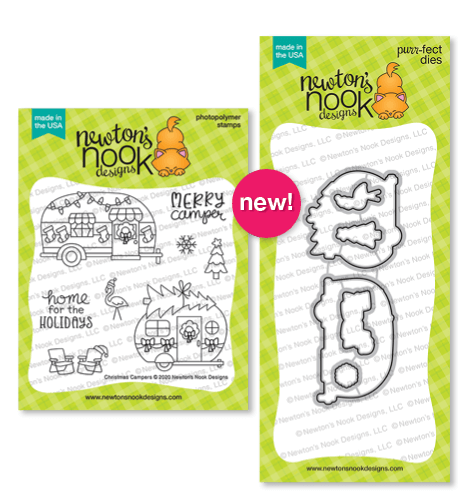
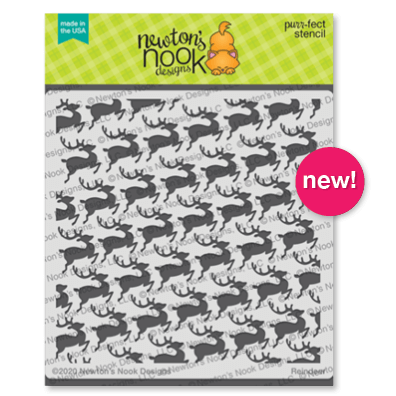
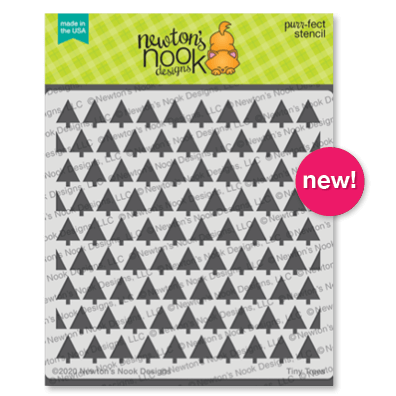
Today we're showcasing the NEW "Destination Christmas" Stamp Set + coordinating Christmas Destination Dies and "Christmas Camper" Stamp Set + coordinating Christmas Camper Dies + Tiny Trees and Reindeer Stencils!!
Let's take a look at the AWESOME New Set!!
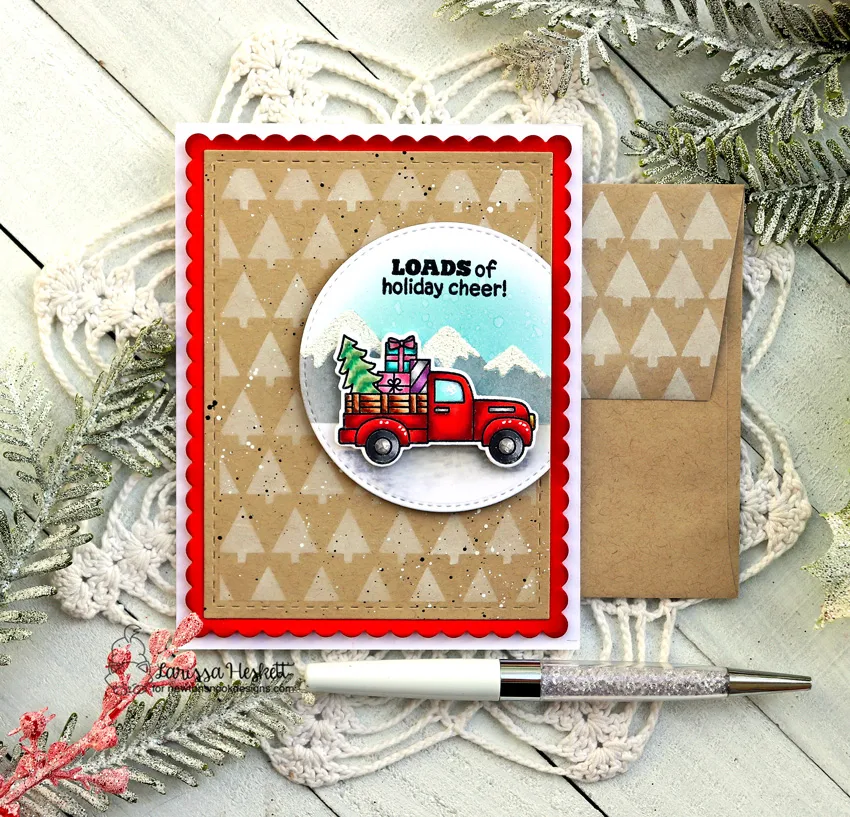
My first Project uses the NEW Destination Christmas Stamp Set!! I just LOVE these Little Vehicles all decked out with Holiday Cheer!! I Started by Stamping and Embossing the NEW Image and I used Copic Markers to Color it in!!
Truck: R14, R37 & R39 E33, E37 & E39 BG0000 & BG10 N3, N5 & N8 Y11 & YR23 Tree: YG61, YG63 & G19 Presents: N0 & N2 V1 & V06 R81 & R83 BG45 & BG49
Then I used the NEW coordinating Destination Dies to Die Cut it out!!
For the Scene Background I Die Cut the Circle from the Circle Frames Die Set then I Masked my Ground using some Purple Tape and inked with Tumbled Glass Distress Oxide Ink for the Sky and added some Water Splatters for the look of Snow falling, then I moved the mask to mask off the sky and added some Vintage Photo Distress Oxide Ink for the Ground!! Then I used the Mountain Stencil to create a Mountain Range using Hickory Smoke Distress Oxide Ink!!
I wanted a REALLY FUN SNOWY look to the tops of the Mountains so I Inked with some SSS White Pigment Ink and then applied some WoW Embossing Powder in White Puff Twinkle!! I repeated this process twice just so I had a thick coating and I LOVE the way it turned out!! I'll DEFINETLY be using this Powder MORE for all of my Dimensional Snowy needs!! SWOON!!
I Stamped and Embossed the Sentiment on the top of the Circle and then I added some Shading for under the Truck using N1 & N2 Copic Markers along with the Colorless Blender and I really like the dimension it adds to the overall scene!! I added some White Gel Pen Details and some Nuvo Morning Dew Drops to the Window and the Hub Caps on the Truck for some Dimension and Shine!!
For the Card Panel I Stenciled with the NEW Tiny Trees Stencil onto Kraft Cardstock using some SSS White Pigment Ink!! I added some Picket Fence and Black Soot Distress Paint Splatters for some more texture!! Then I added it to a Cherry Pop Frames and Flags Scalloped Rectangle Frame and adhered it to a white Cardbase using some Fun Foam!! I LOVE the way it turned out!!
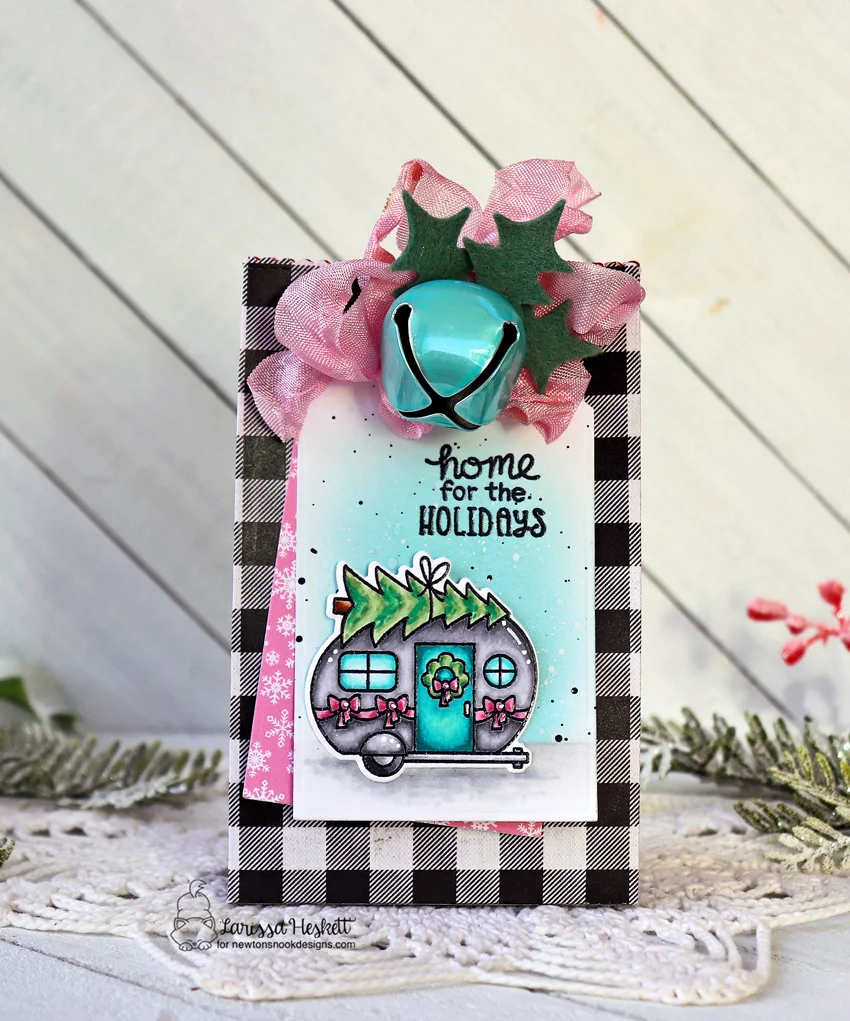
For my next Project I've used the NEW Christmas Camper Stamp Set!! SQUEAL!! This set is just SO SWEET!! I Stamped and Embossed the Image using Versa Fine Black Onyx Ink and WoW Clear Gloss Embossing Powder!! Then I used Copic Markers to color it in!!
Camper: N0, N3 & N5 Tree & Wreath: YG61, YG63 & G19 Bows: R81, R83 & RV34 Windows: BG0000, BG10 & BG13 Door: BG13, BG45 & BG49
I Die Cut the Image out using the NEW coordinating Christmas Camper Die Set!! Then I added some White Gel Pen Highlights and some Nuvo Morning Dew Drops to the Ribbons and Bows for some Dimension and Shine!! For the Tag Base I Die Cut the Fancy Edges Tag Die Set!! I Masked the Ground with some Purple Tape and Inked with Tumbled Glass Distress Oxide Ink and added some Water Splatters!! Then I added both Picket Fence and Black Soot Distress Paint Splatters for some Texture!! I removed the mask and masked the Sky to add some Hickory Smoke Distress Oxide Ink to the Ground!! Then I used Copic Markers in N1 & N2 along with my Colorless Blender to create some Shading!! I added it to a Gift Bag and added a Paper Sweeties Bubble Gum Seam Binding Ribbon Bow, some Felt Holly Leaves and a Large Jingle Bell!! I LOVE how it turned out!!
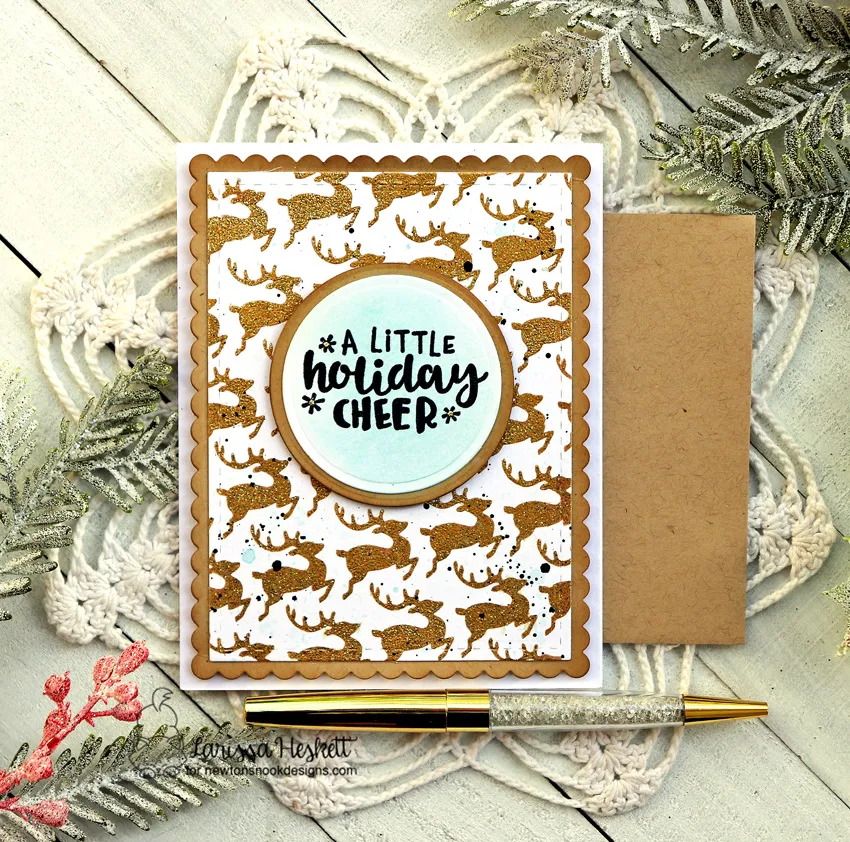
For my last Project today I'm using the NEW Reindeer Stencil!! I Sprayed the back of my Stencil with Pixie Spray and applied it to my Card Panel!! Then I Inked with Vintage Photo Distress Oxide Ink and Embossed with WoW Embossing Pearl Gold Sparkle Glitter Embossing Powder!! SWOON!! This is one of my FAVORITE Colors especially for the Holidays!!
Once heat Set I added some Tumble Glass Distress Oxide Ink Splatters and some Black Soot Distress Paint Splatters!! I Stamped and Embossed the Sentiment from the Ornamental Wishes Stamp Set onto a Circle Die Cut that I inked with Tumbled Glass Distress Oxide Ink and added some Water Splatters!! I Stamped with Versa Fine Black Onyx Ink and WoW Clear Gloss Embossing Powder!! Then I added some WoW Embossing Pearl Gold Sparkle Glitter Embossing Powder to the center of the Snowflakes!!
I added the panel to a Kraft Frames and Flags Scalloped Rectangle Frame that I inked the edges of with some Vintage Photo Distress Oxide Ink to help it POP off the White Cardbase!! I adhered it to the White Cardbase using some Fun Foam!! I LOVE the way it turned out!!
Would you like to win the “Destination Christmas” Stamp Set or the “Christmas Campers” Stamp Set!!??
We will choose ONE lucky winner for each stamp set!!
Here's how to win: Comment on the NND blog and Design Team blogs (see list below)! The winner will be chosen at random from the collective reveal posts. Make sure to check out each of their blogs and comment for your chance to win. You will not know which blog has been chosen so the more you comment on the better your chances are of winning! You have until Thursday October 22nd at 9pm EST to comment -- winners will be announced on the blog post on Friday, October 23rd.
Check out all the awesome Design Team Blogs below to enter:
THANKS SO MUCH for stopping by today!! Come back tomorrow for a look at the NEW "Dear Santa" Stamp Set + coordinating Dies, and "Nutcrackers" Stamp Set+ coordinating Dies!!
Don't forget to check out the Newton's Nook Designs Blog on the 23rd to see if you're one of the LUCKY Winners!!
Have a FABULOUS WEEK!!
COUNTRY HUGS-N-KISSES
LARISSA 💗

